Summer is screaming for color, texture, and a little bit of whimsy on your nails. These eight designs are easy, fun, and doable at home—no fancy salon needed. FYI, you’ll walk away with fresh ideas you’ll actually use all season.
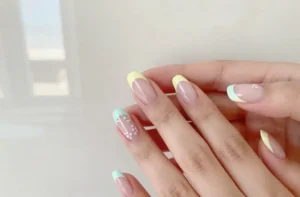
1. Sunshine French with a Twist
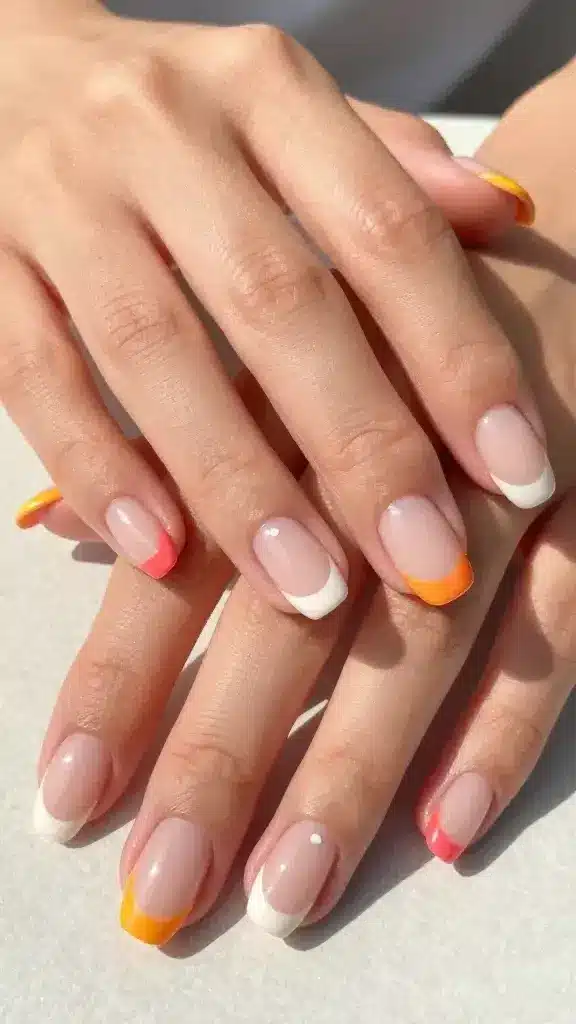
Classic French gets a sunny upgrade with bright tips and a playful base. It’s chic, youthful, and surprisingly easy to nail (pun intended).
Why it works
- Bright tip colors lift any outfit
- Low-maintenance with a clean look
- Looks great on short or long nails
Dip your toes in with a pale nude base and a citrusy tip color like mango or coral. Want extra pop? Add a tiny white dot near the cuticle for a modern twist.
2. Wipe-Fade Watercolor Needles
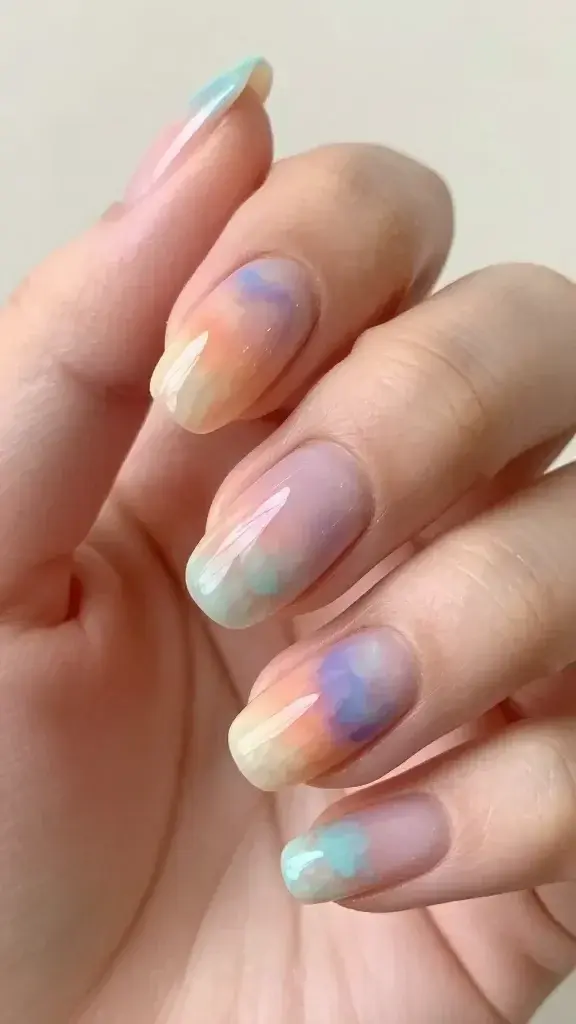
Calm, dreamy, and artsy—this watercolor effect mimics a sunset sky on your nails. It’s the perfect palette cleanser after a week of bright hues.
Key steps
- Apply a sheer base and let it dry
- Smudge tiny drops of three complementary colors with a damp brush
- Softly blend toward the center of each nail
Seal with a glossy top coat and enjoy that effortless, painted-by-the-sky vibe. It’s surprisingly forgiving—no perfect lines required, seriously.
3. Neon Half-Mrench for Minimal Impact
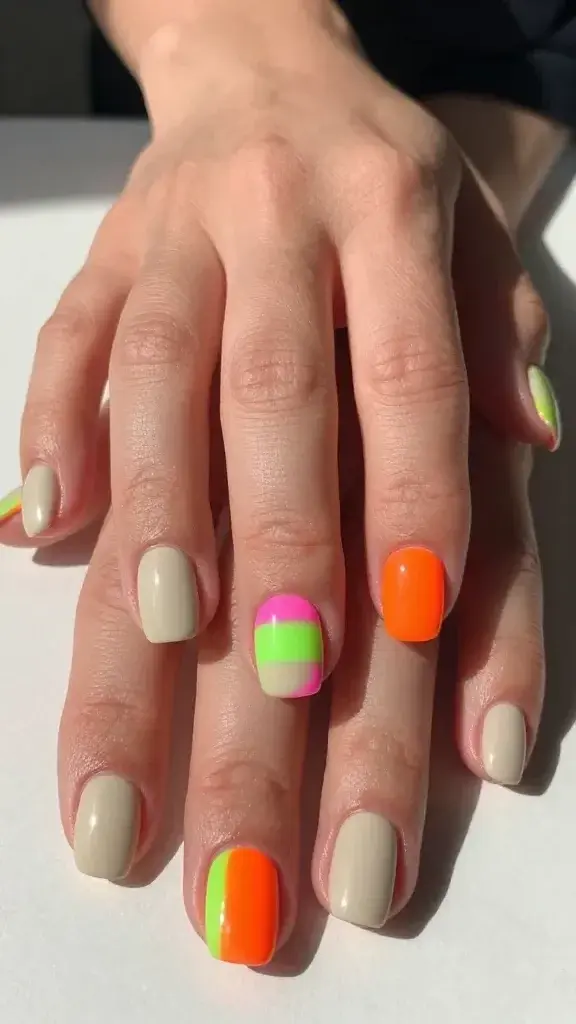
Yes, you can rock neon without going full-on carnival. This design uses a bold accent on one half of the nail for a clean, modern statement.
What to know
- Pick a single neon shade as the star
- Cover the non-neon half with a neutral or pale shade
- Use painter’s tape for crisp edges
It’s bold but not overwhelming, making it perfect for daytime outings or a weekend brunch. Trust me, it pairs with everything from simple tees to bright bikinis.
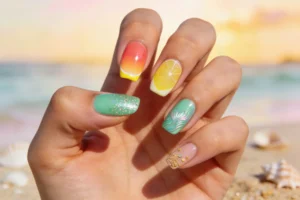
4. Ocean-Kissed Glitter Gradient
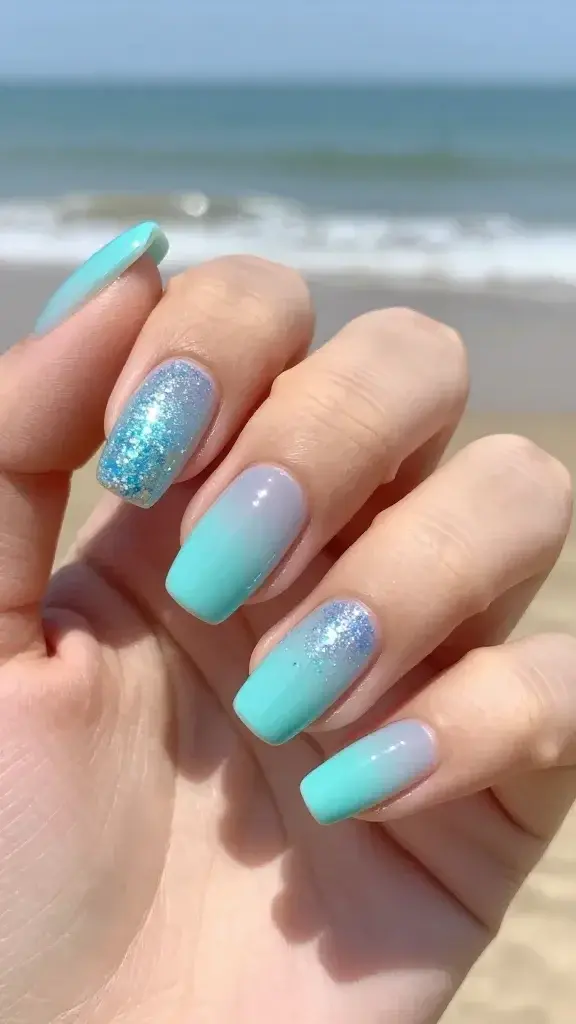
Think waves and sparkles, but elegantly done. A gradient from sheer blue to glittery tips captures that beachy glow perfectly.
Simple technique
- Base with a pale aqua
- Spatter or brush on deeper blues toward the tips
- Pat on a fine holographic glitter at the top
Finish with a fast-dry top coat so you’re not waiting forever. It’s the kind of design that looks expensive but is totally doable at home.
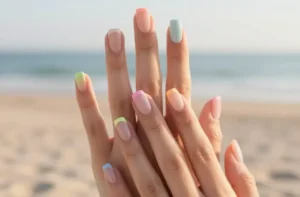
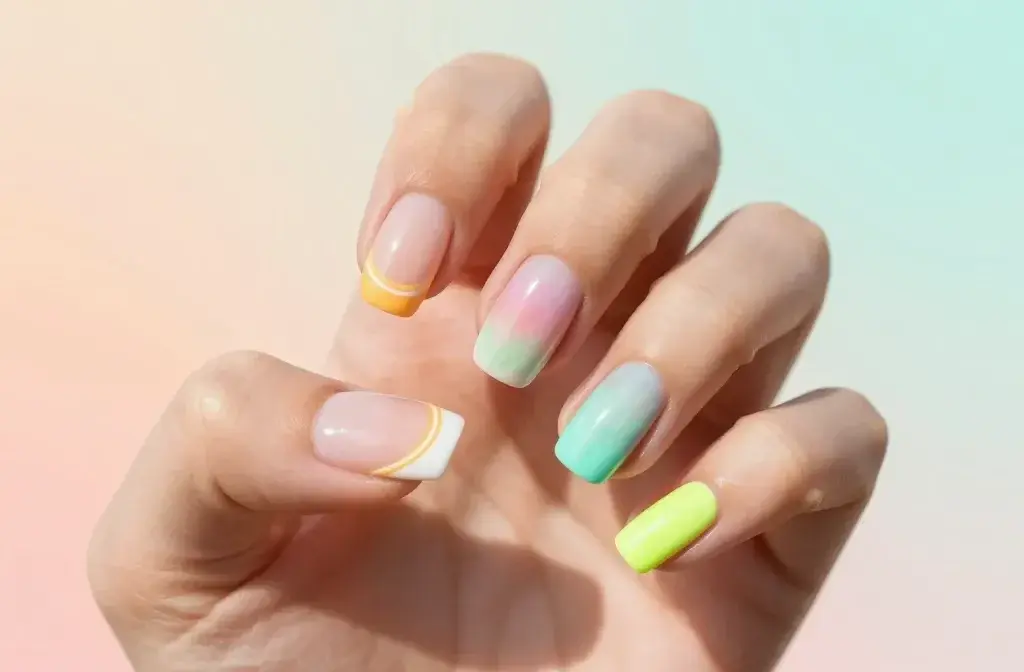
5. Candy Stripe Pastel Party
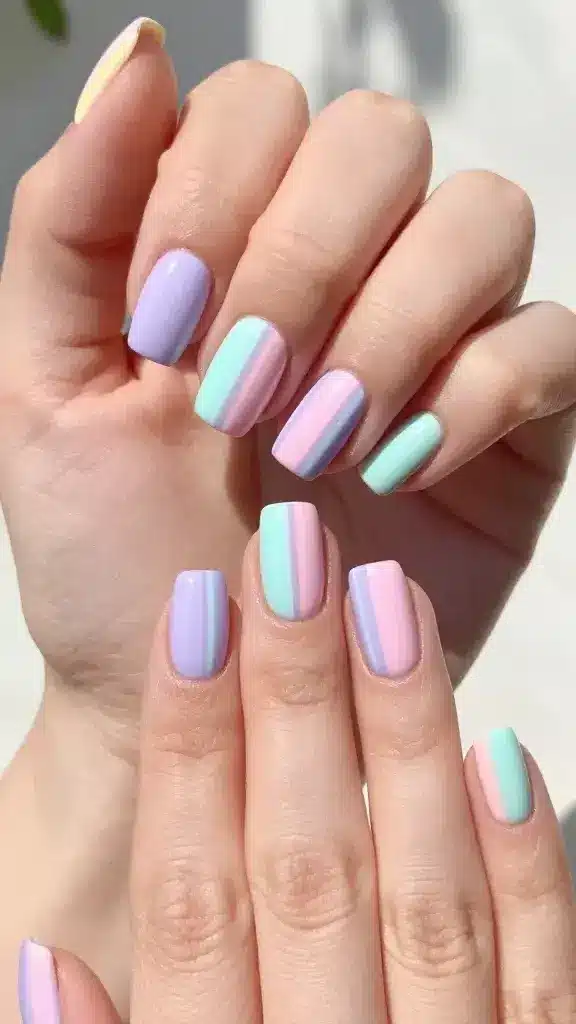
Pastels and stripes are a match made in summer fashion heaven. This design is playful, sweet, and surprisingly easy to achieve in minutes.
How to do it
- Paint every nail a soft pastel base (pink, lilac, mint)
- Use a thin brush or nail art striping tape to create vertical stripes
- Alternate colors for a lively effect
Finish with a glossy top coat to seal the party. It’s like wearing candy on your fingertips—minus the sugar rush, obviously.
6. Matte Sand Dune Nude with a Pop
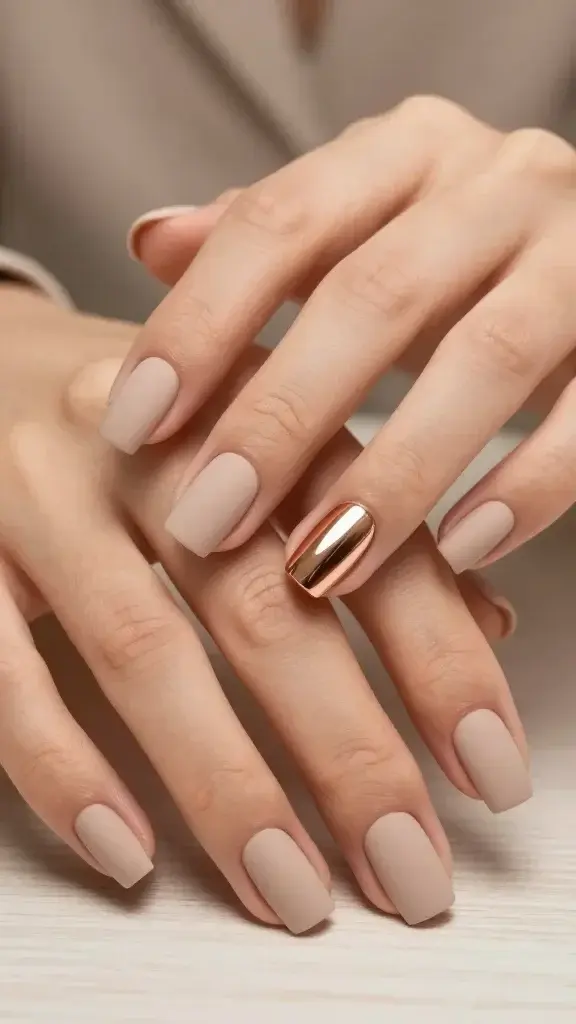
Matte nails are having a moment, and a nude base with a pop of metallic or neon on a single nail reads ultra chic for any occasion.
Tips for perfection
- Choose a nude shade with a warm undertone
- Paint one accent nail with a metallic or bold color
- Use a matte top coat for longevity
This design works for office-appropriate days and sunset selfies alike. It’s understated, but not boring—especially when you catch the light just right.
7. Dainty Summer Florals on Accent Tips
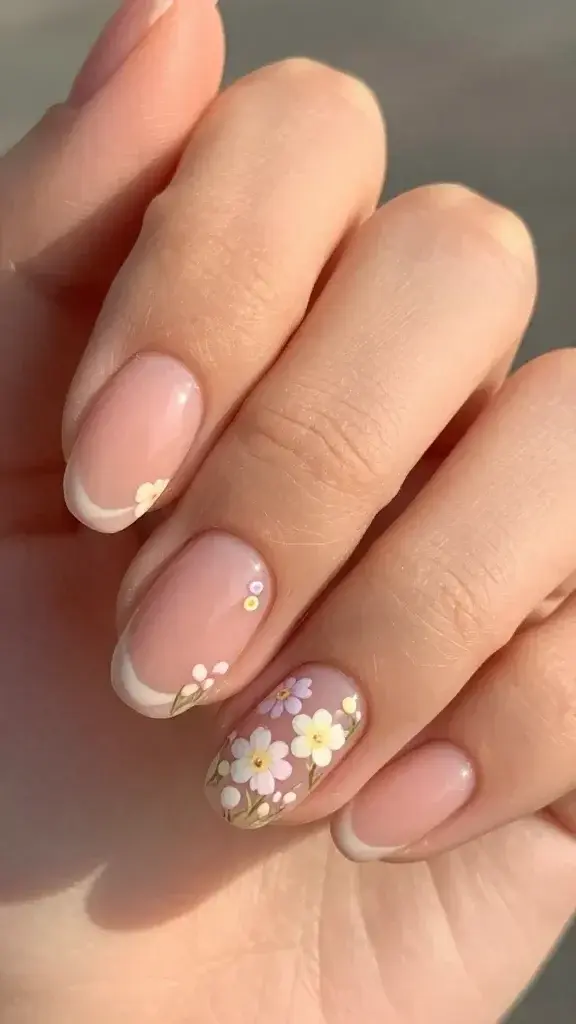
Floral accents feel timeless and fresh. Keep the bloom small and delicate so you don’t overwhelm the nail shape.
Mini floral guide
- Base with a soft blush or peach
- Paint tiny flowers on the ring and thumb nails or all accent nails
- Dot the centers with white or yellow for brightness
These tiny blossoms look especially cute with short, rounded nails. It’s basically a bouquet you can wear—how could you resist?
8. Sunset Swoosh: Crescent Color Blocking
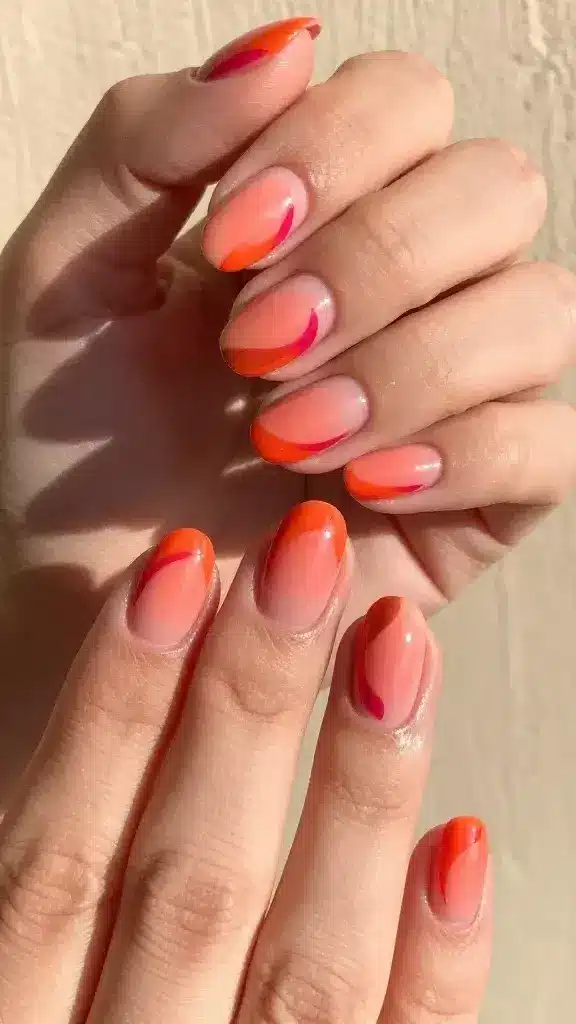
One bold swoosh across each nail creates a sunset-worthy silhouette. It’s a confident, playful look that’s easier than it sounds.
How to shape it
- Apply two base colors that fade into each other
- Create a curved swoosh across the center of the nail with a thin brush
- Clean up the edges with a small brush dipped in remover for a crisp finish
Finish with a strong top coat to keep the swoosh sharp. It’s the kind of design that earns compliments and a few extra likes on your latest selfie.
Want a quick recap? Here are bullet-proof reasons these designs rock: they’re fast, forgiving, and look like you spent ages on them. FYI, you can mix and match any of these on different nails for a custom vibe. IMO, variety is the spice of summer nails.
So, which one will you try first? Grab your polishes, some tape, and a steady hand, and turn your mani into a mini summer mood board. Seriously, your future self will thank you for choosing something that’s both cute and practical.
Conquer your nail goals with confidence—these designs were made for trying, redoing, and flaunting all season long. You’ve got this, girl!