Spring is begging for color, whimsy, and a little floral chaos. Let’s dish out ten nail designs that feel fresh, approachable, and totally Instagram-worthy—without stressing over perfection. FYI, you’ll want to try them all.
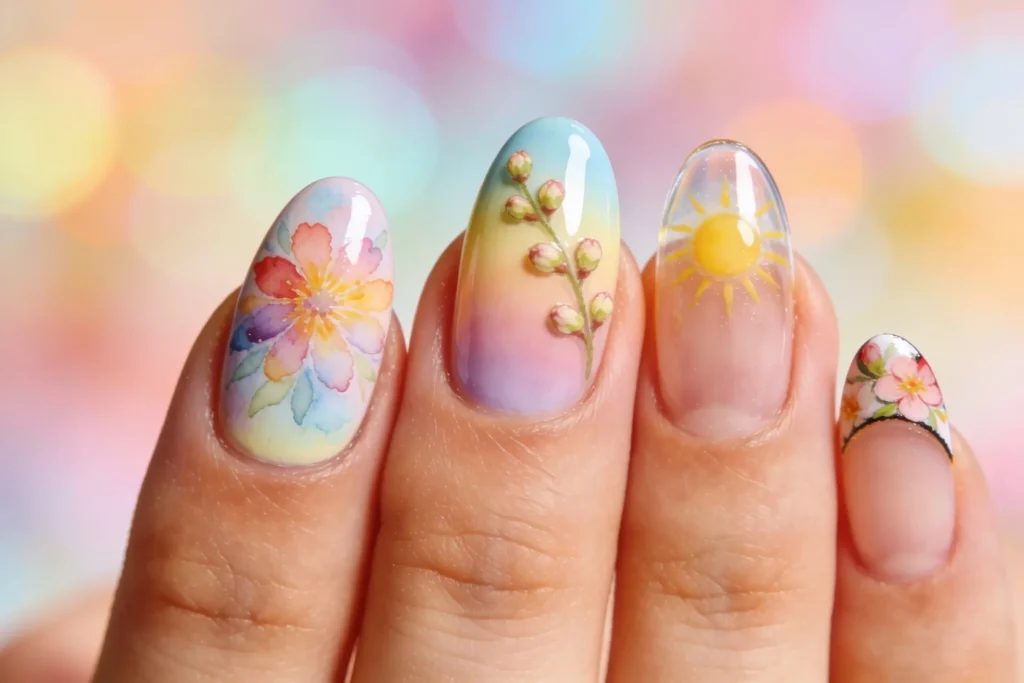
1. Watercolor Floral Burst
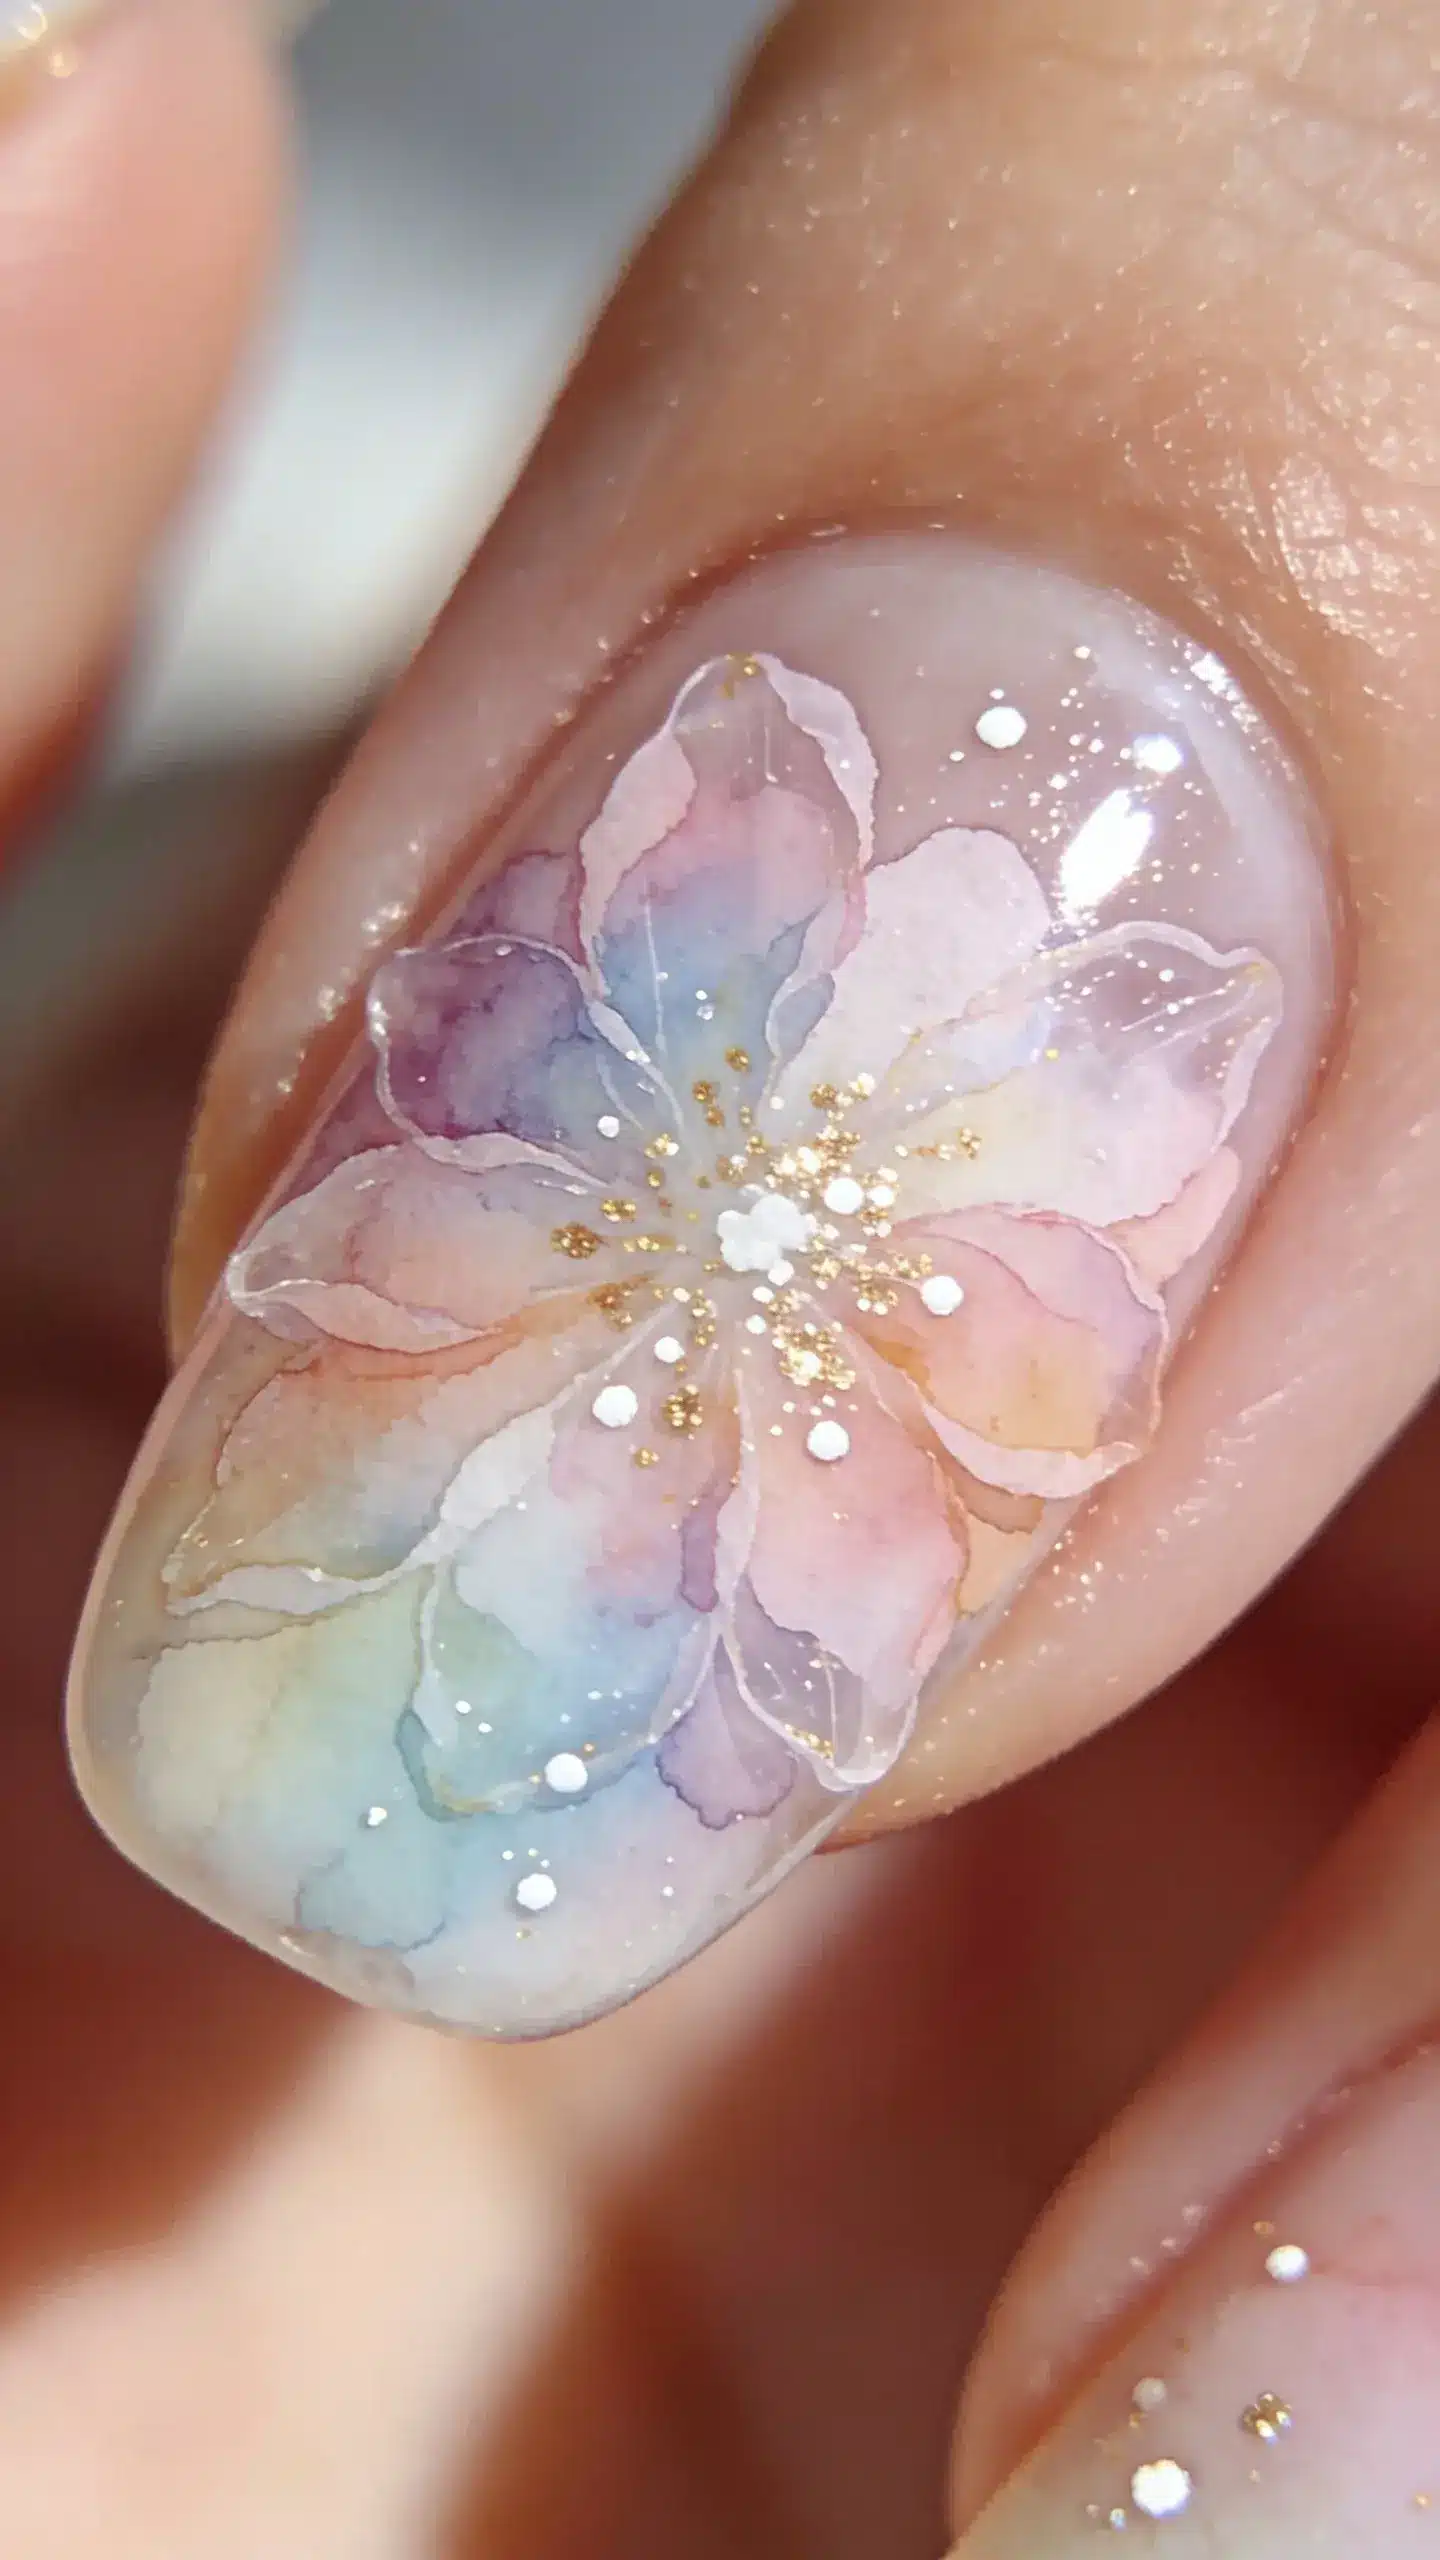
This design looks like a tiny garden painted by hand, but it’s much easier than it appears. The watercolor technique creates soft, dreamy petals that blend into a sky of color on your nails. Seriously, it feels like spring in a single manicure.
Key Elements
- Soft, blended petals
- Pastel gradients as a backdrop
- Delicate white or gold specks for sparkle
Tips for success: use a wet-on-wet technique with sheer polish to keep edges soft. FYI, seal with a glossy top coat to preserve that watercolor look long after the flowers fade on the tree outside.
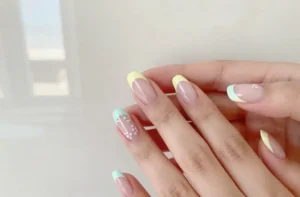
2. Tiny Buds on Clear, Sunny Tips
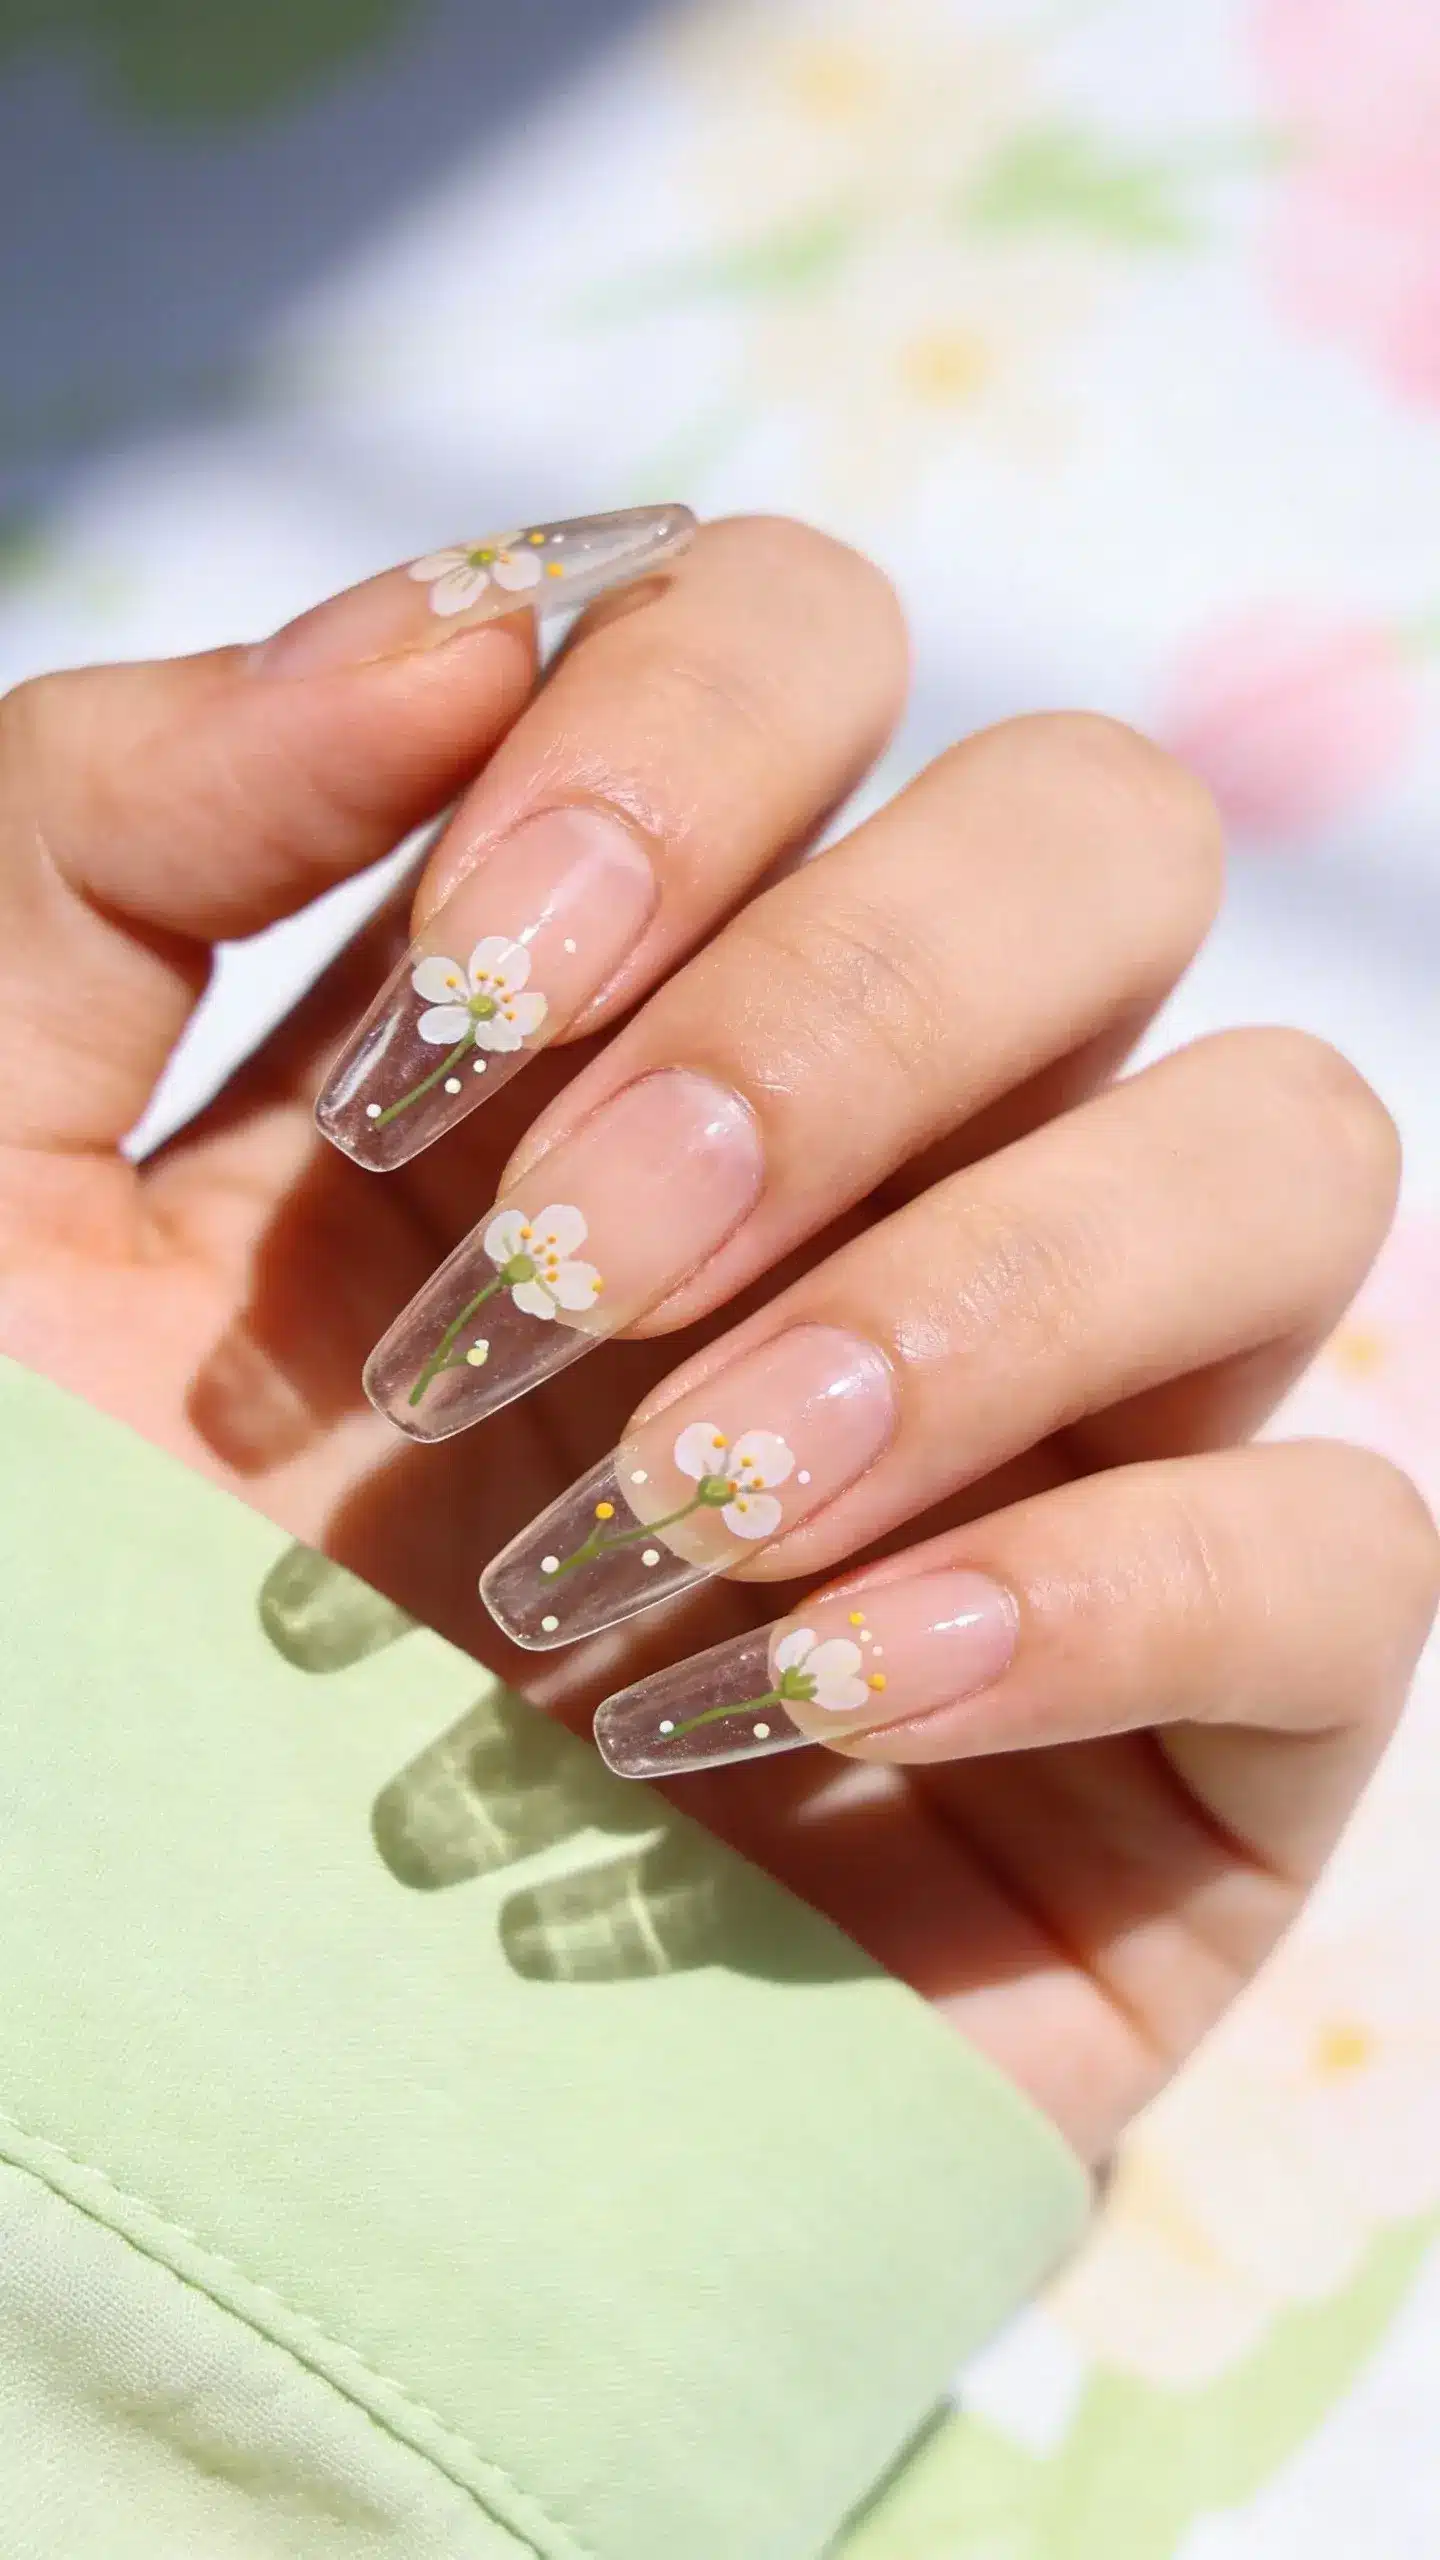
Clear tips with tiny floral buds feel fresh and modern. It’s minimal but chic, balancing dainty details with your everyday vibe. Trust me, this screams “spring has arrived” without shouting.
Why it works
- Low-contrast, high-impact style
- Perfect for work or weekend wear
- Pairs with almost any outfit
How to do it: paint small bud silhouettes on the free edge, add a touch of dotting for pollen, and finish with a fast-drying top coat. This look travels well—no smudges in your purse, promise.
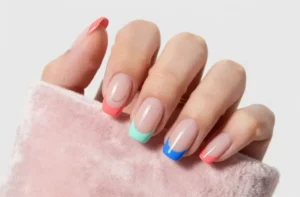
3. Floral French Tip Frenzy
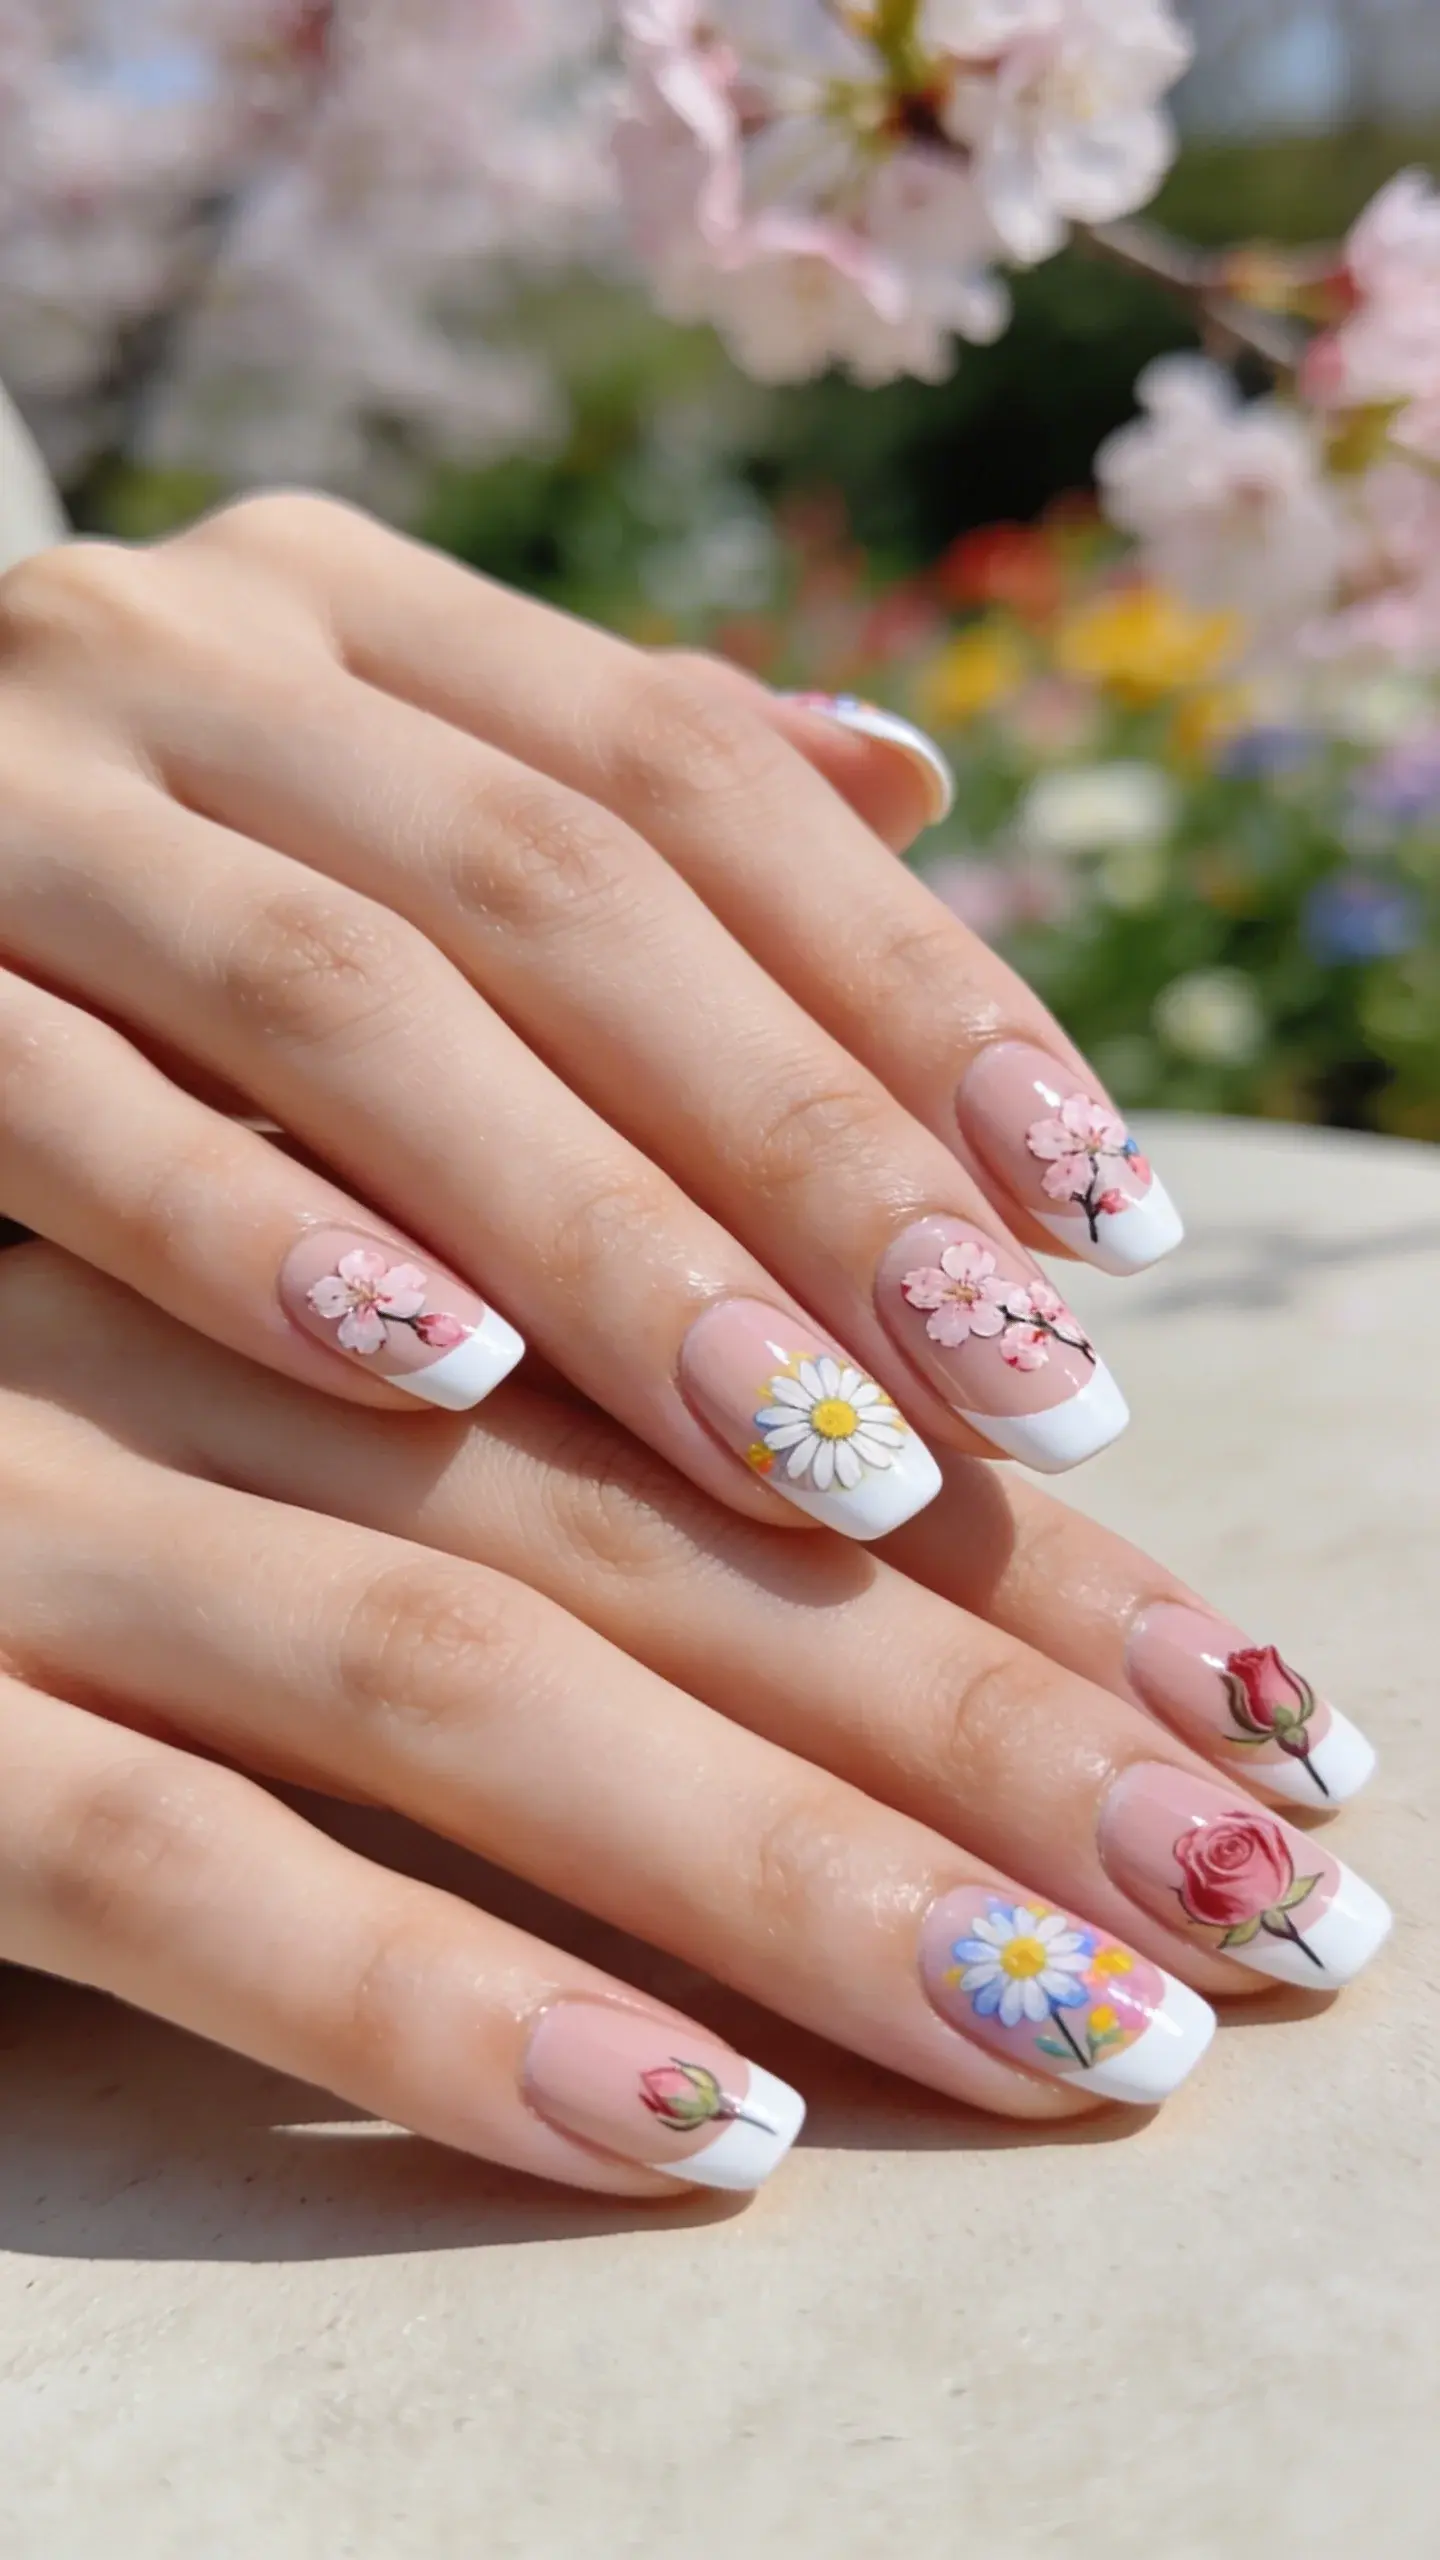
A twist on the classic French manicure, but with blossoms dancing along the line. It’s playful yet polished enough for a meeting, brunch, or a date night. It’s basically spring in lipstick-safe nails.
What to include
- Unlimited color options for the tips
- One floral accent per nail or a full garden on a couple of nails
- Fine liner brush for precise petals
My tip: keep the base neutral so the flowers pop, and set with a long-lasting top coat to avoid chipping after a picnic in the park. It’s cute, not chaotic.
4. Dainty Daisies on Pastel Pastures
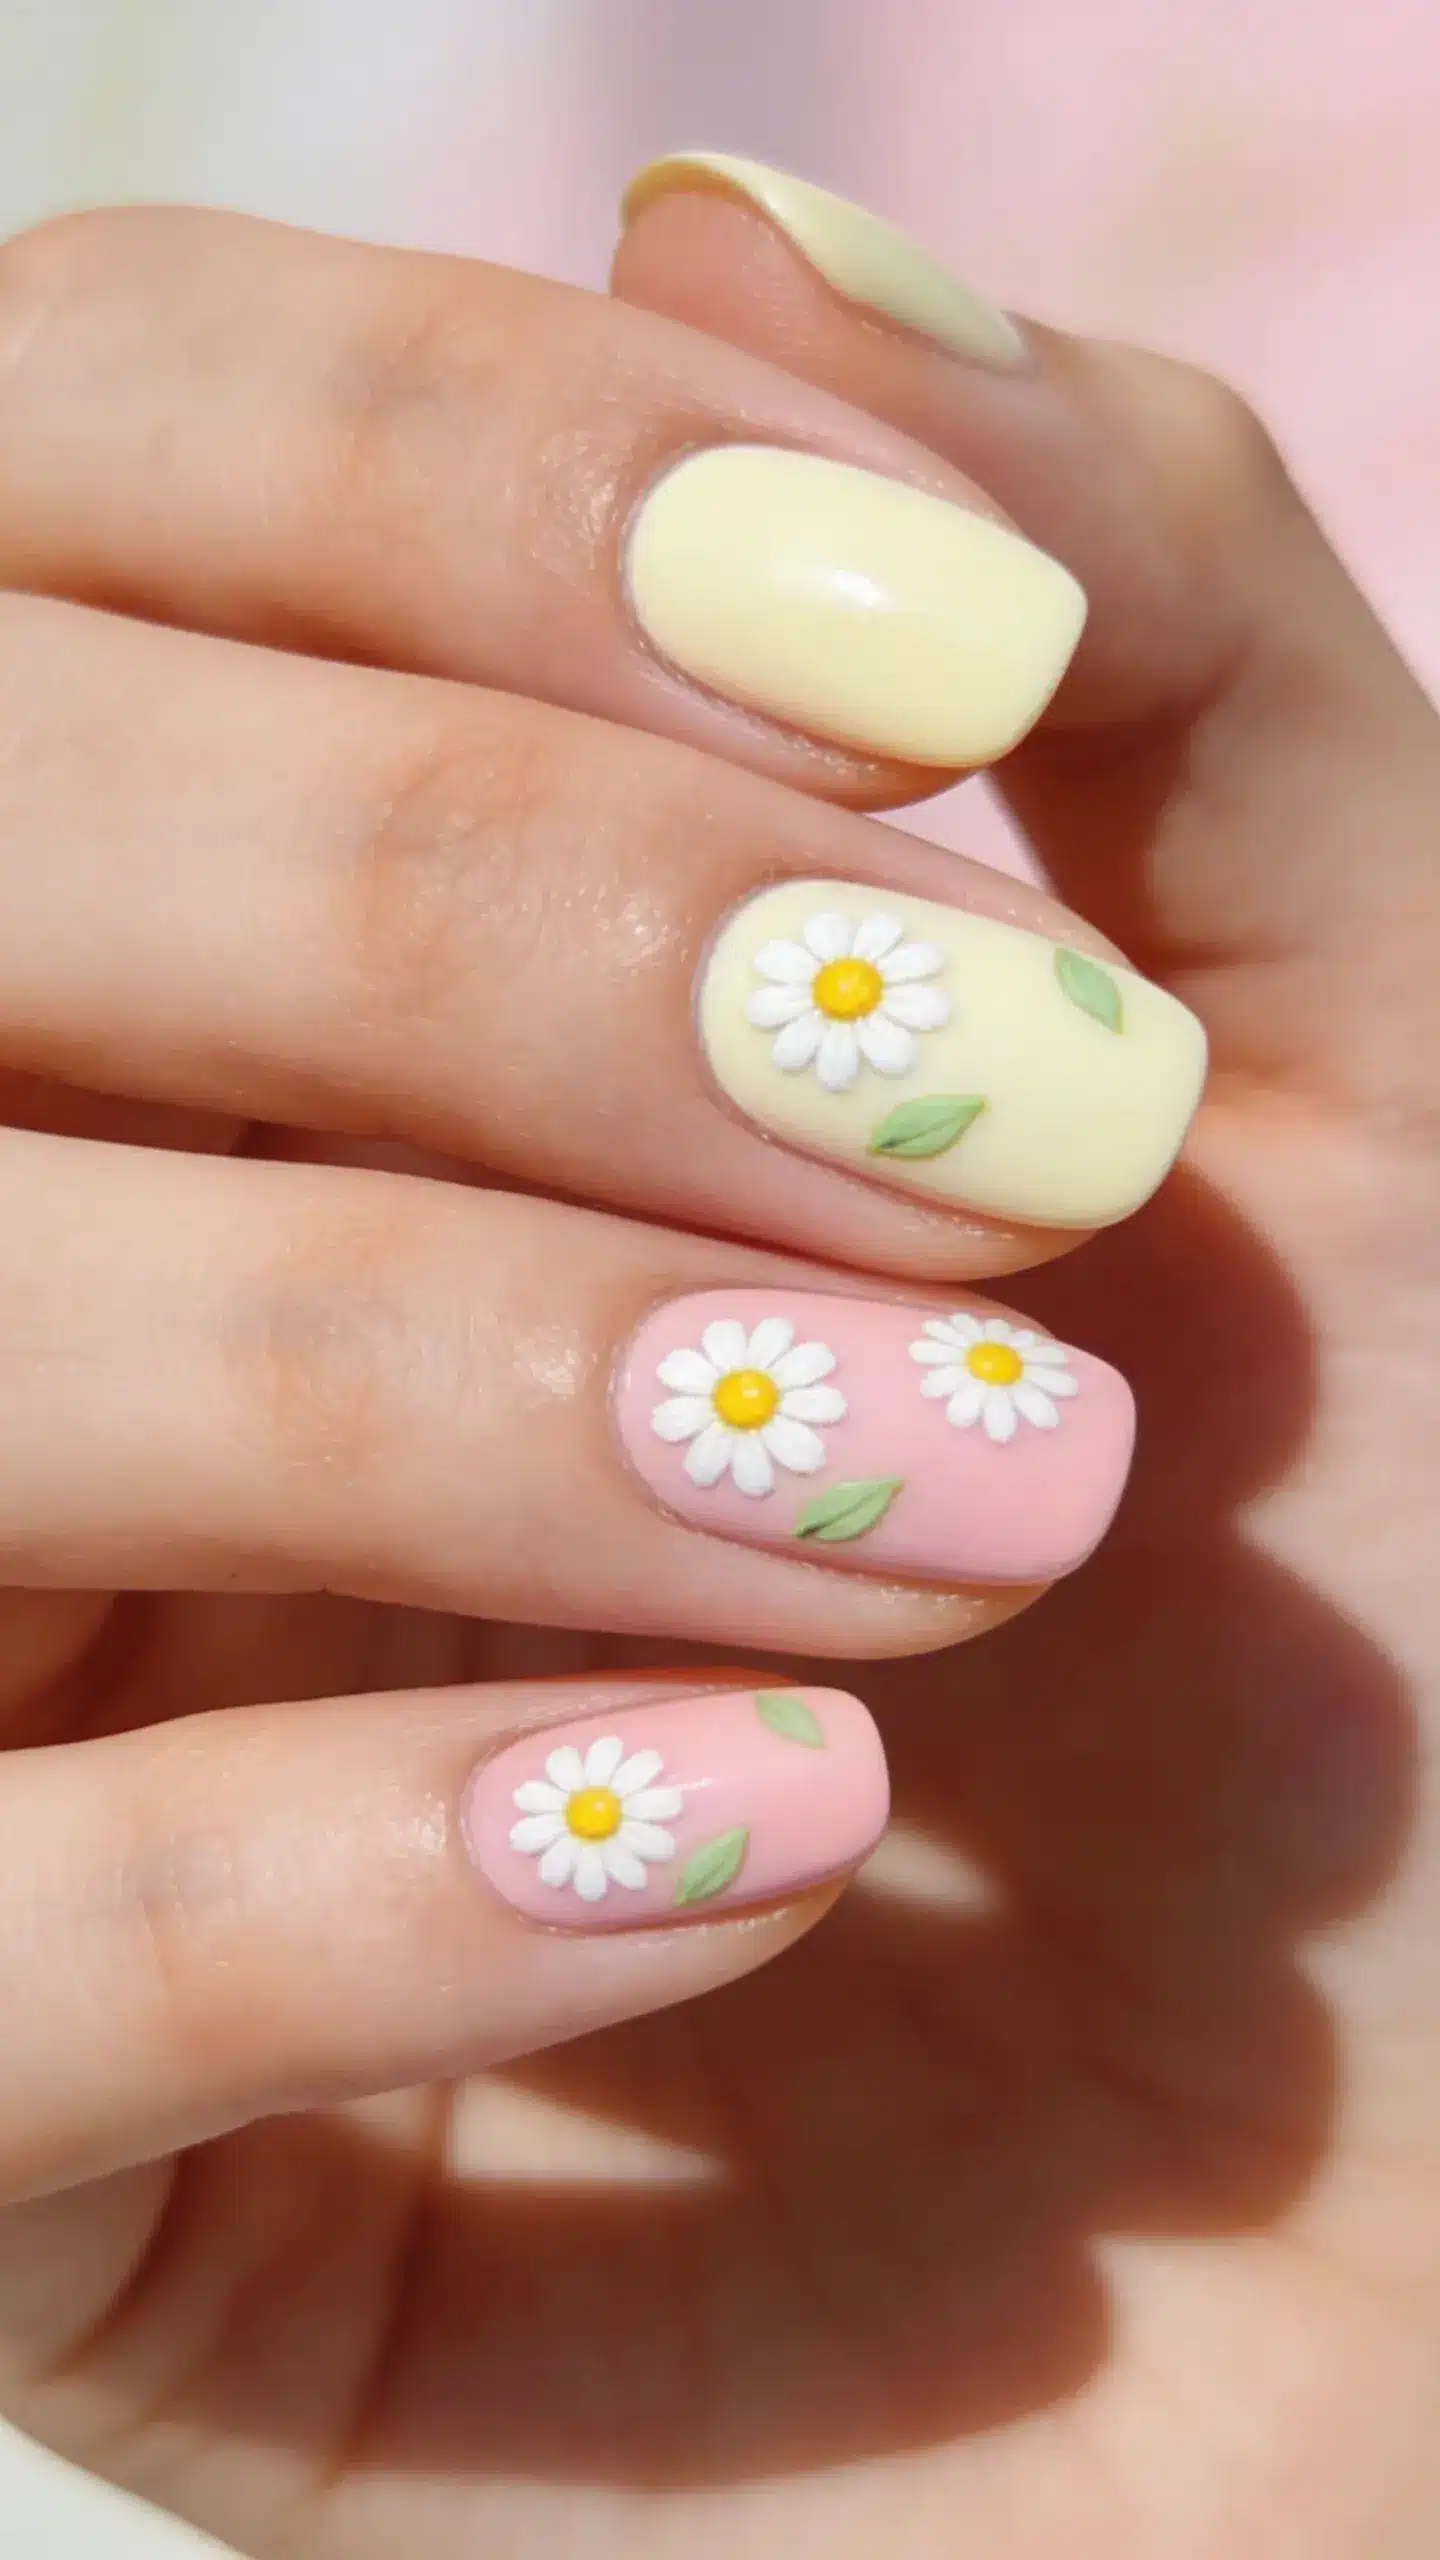
Daisies are basically spring in flower form. This design uses tiny white daisies with yellow centers scattered over pastel nails, creating a fresh, cheerful vibe. It’s simple, timeless, and endlessly wearable.
How to layer it
- Base coat in soft vanilla or baby pink
- Three tiny daisies per nail for balance
- Optional pale green leaves for pop
Benefits: ultra-feminine without overdoing it. Use a dotting tool for perfect centers, and you’ll nail that amateur-turned-pro look in minutes.
5. Bold Bloom Accent Nails
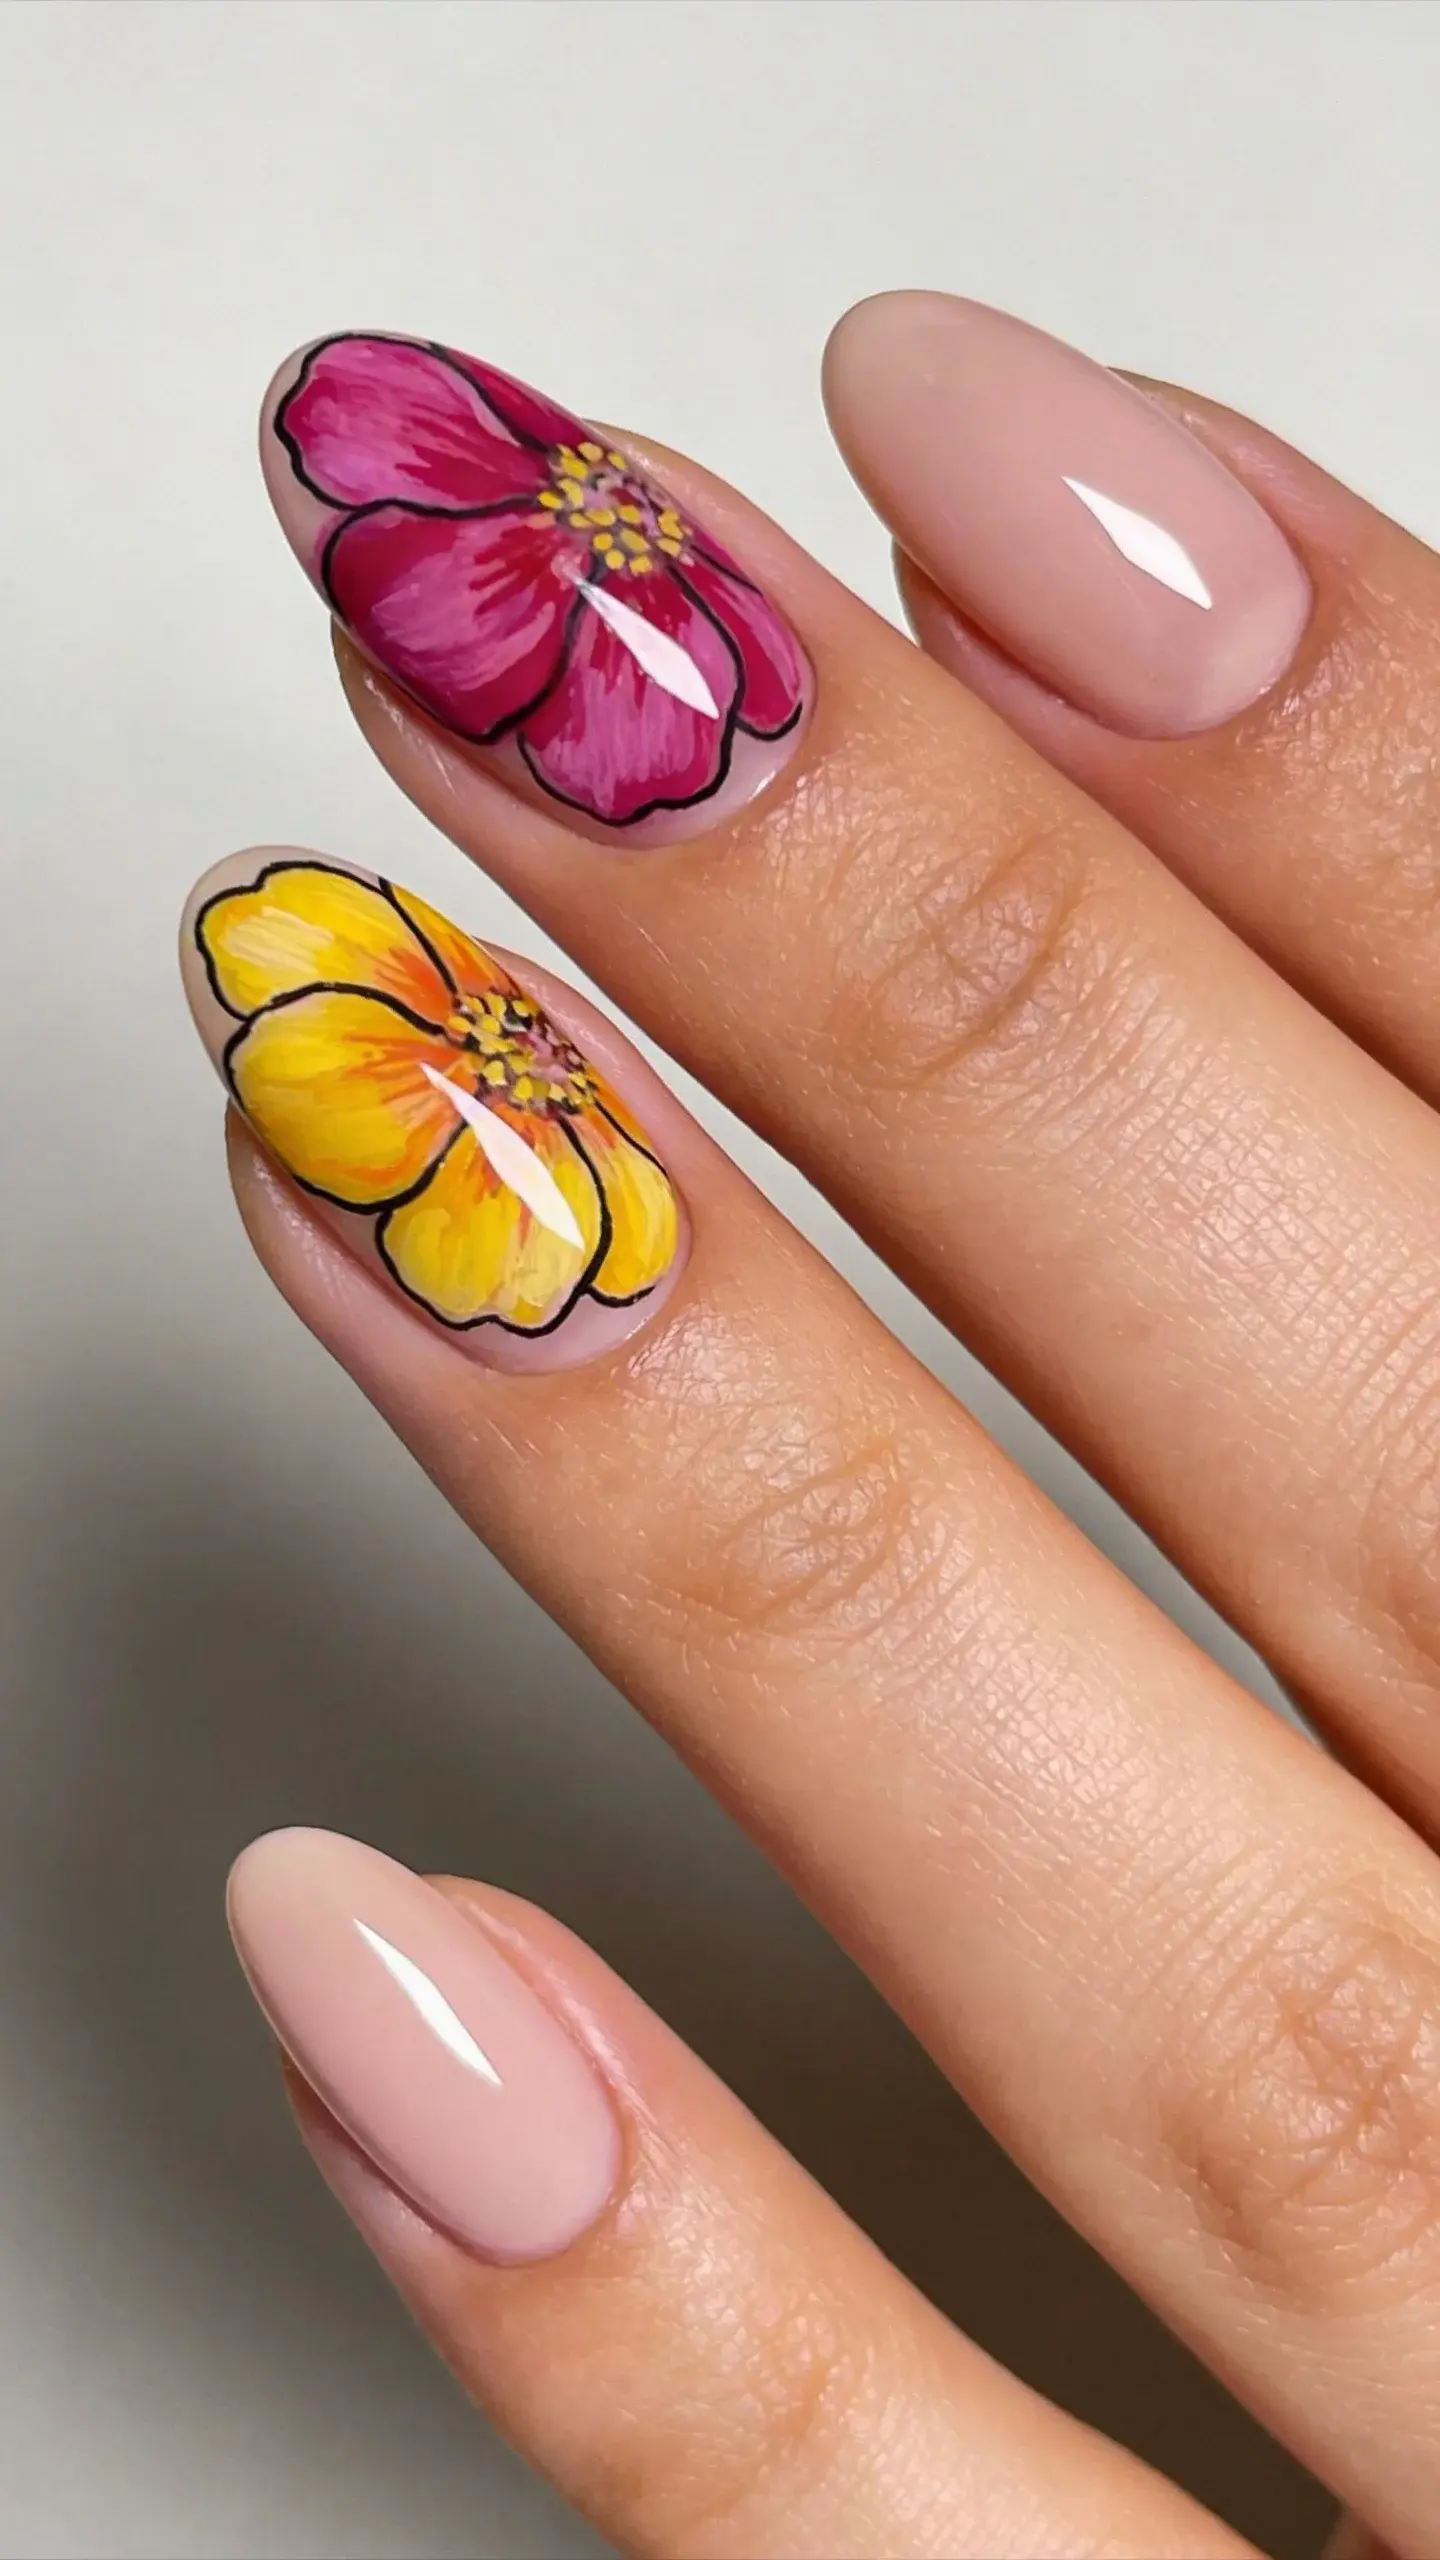
Go big on one or two accent nails with a bold bloom design while keeping the rest sleek and simple. This contrast feels modern, artsy, and totally Instagram-worthy when you zoom in on the petals’ details.
Material notes
- Acrylic or gel base for longevity
- Bright, saturated flower colors to stand out
- Thin liner brush for precise outlines
Why this is awesome: you get a wow factor without committing to full floral on every nail. It’s the perfect balance between bold and wearable.
6. Garden Medley: Mixed Florals
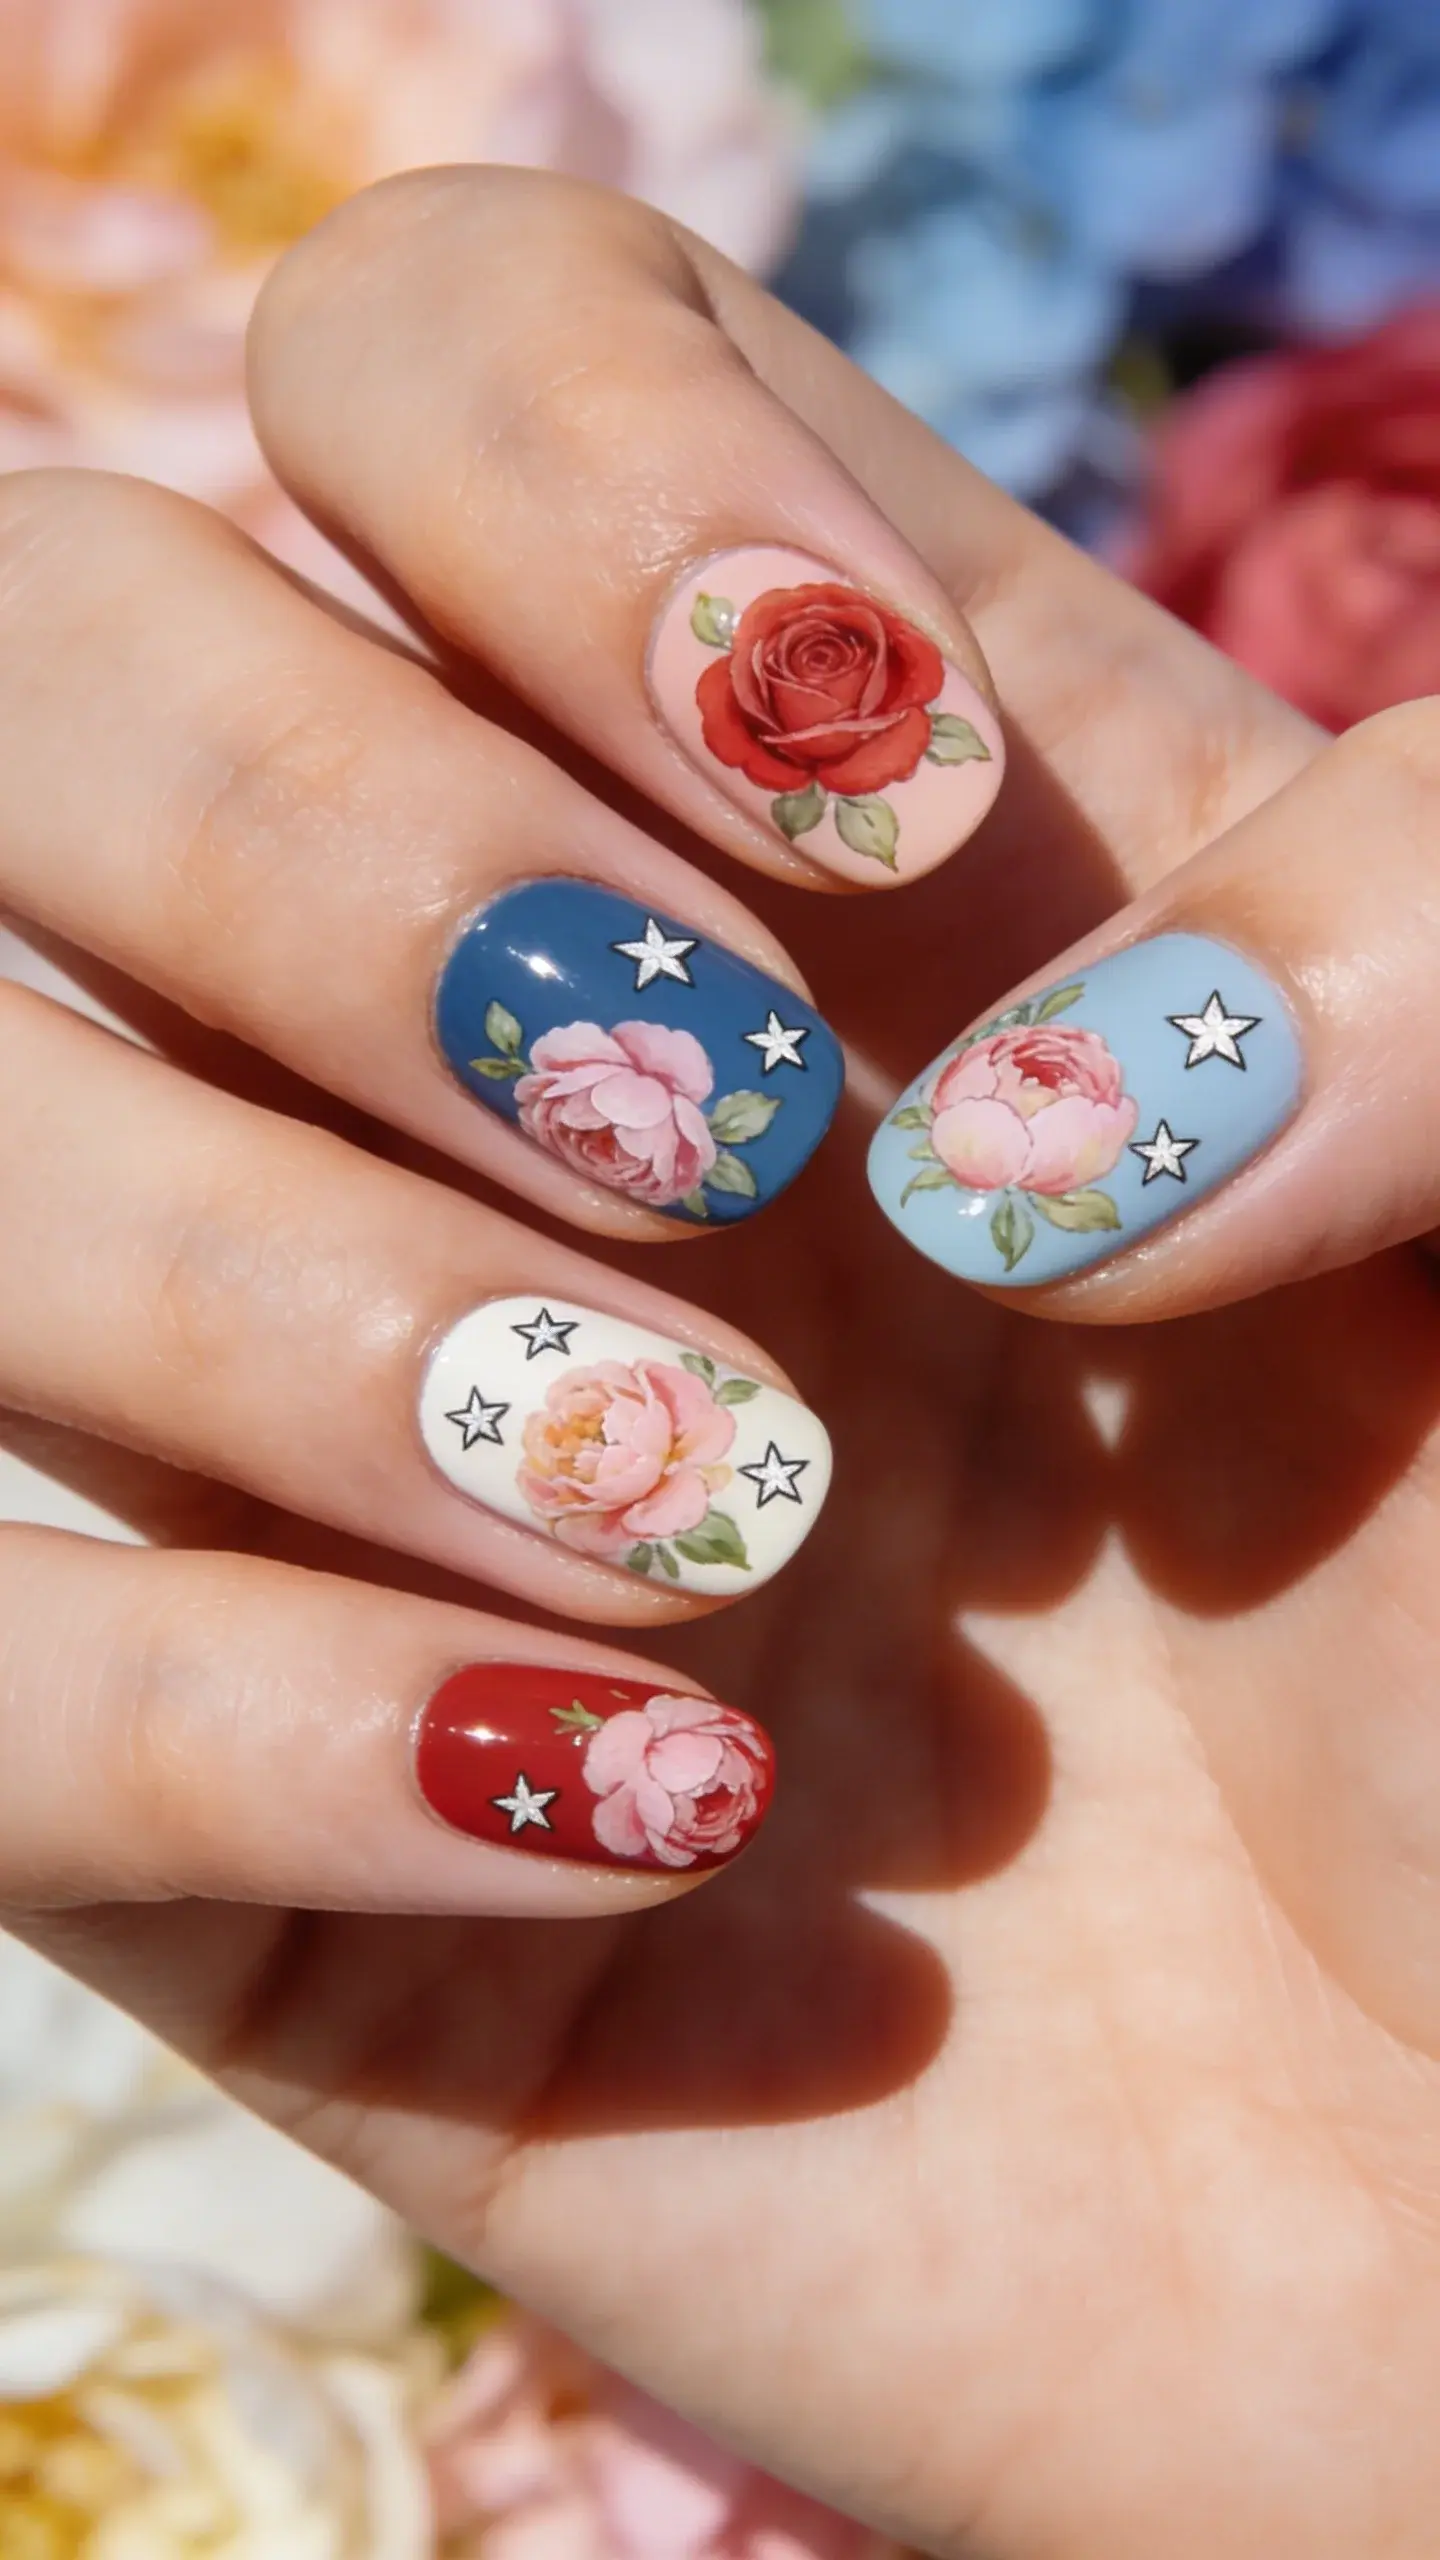
Mixing multiple flower types gives you a tiny garden on your fingertips. Think roses, peonies, and tiny starflowers all in a coordinated palette. It feels playful and curated at the same time.
Tips for balance
- Limit the palette to three colors max
- Alternate floral sizes so nothing competes too hard
- Use negative space to keep things airy
This design shines in daylight, catching the eye at every angle. It’s like wearing a bouquet without the thorns or watering can drama.
7. Neon Petals for a Spring Zoom
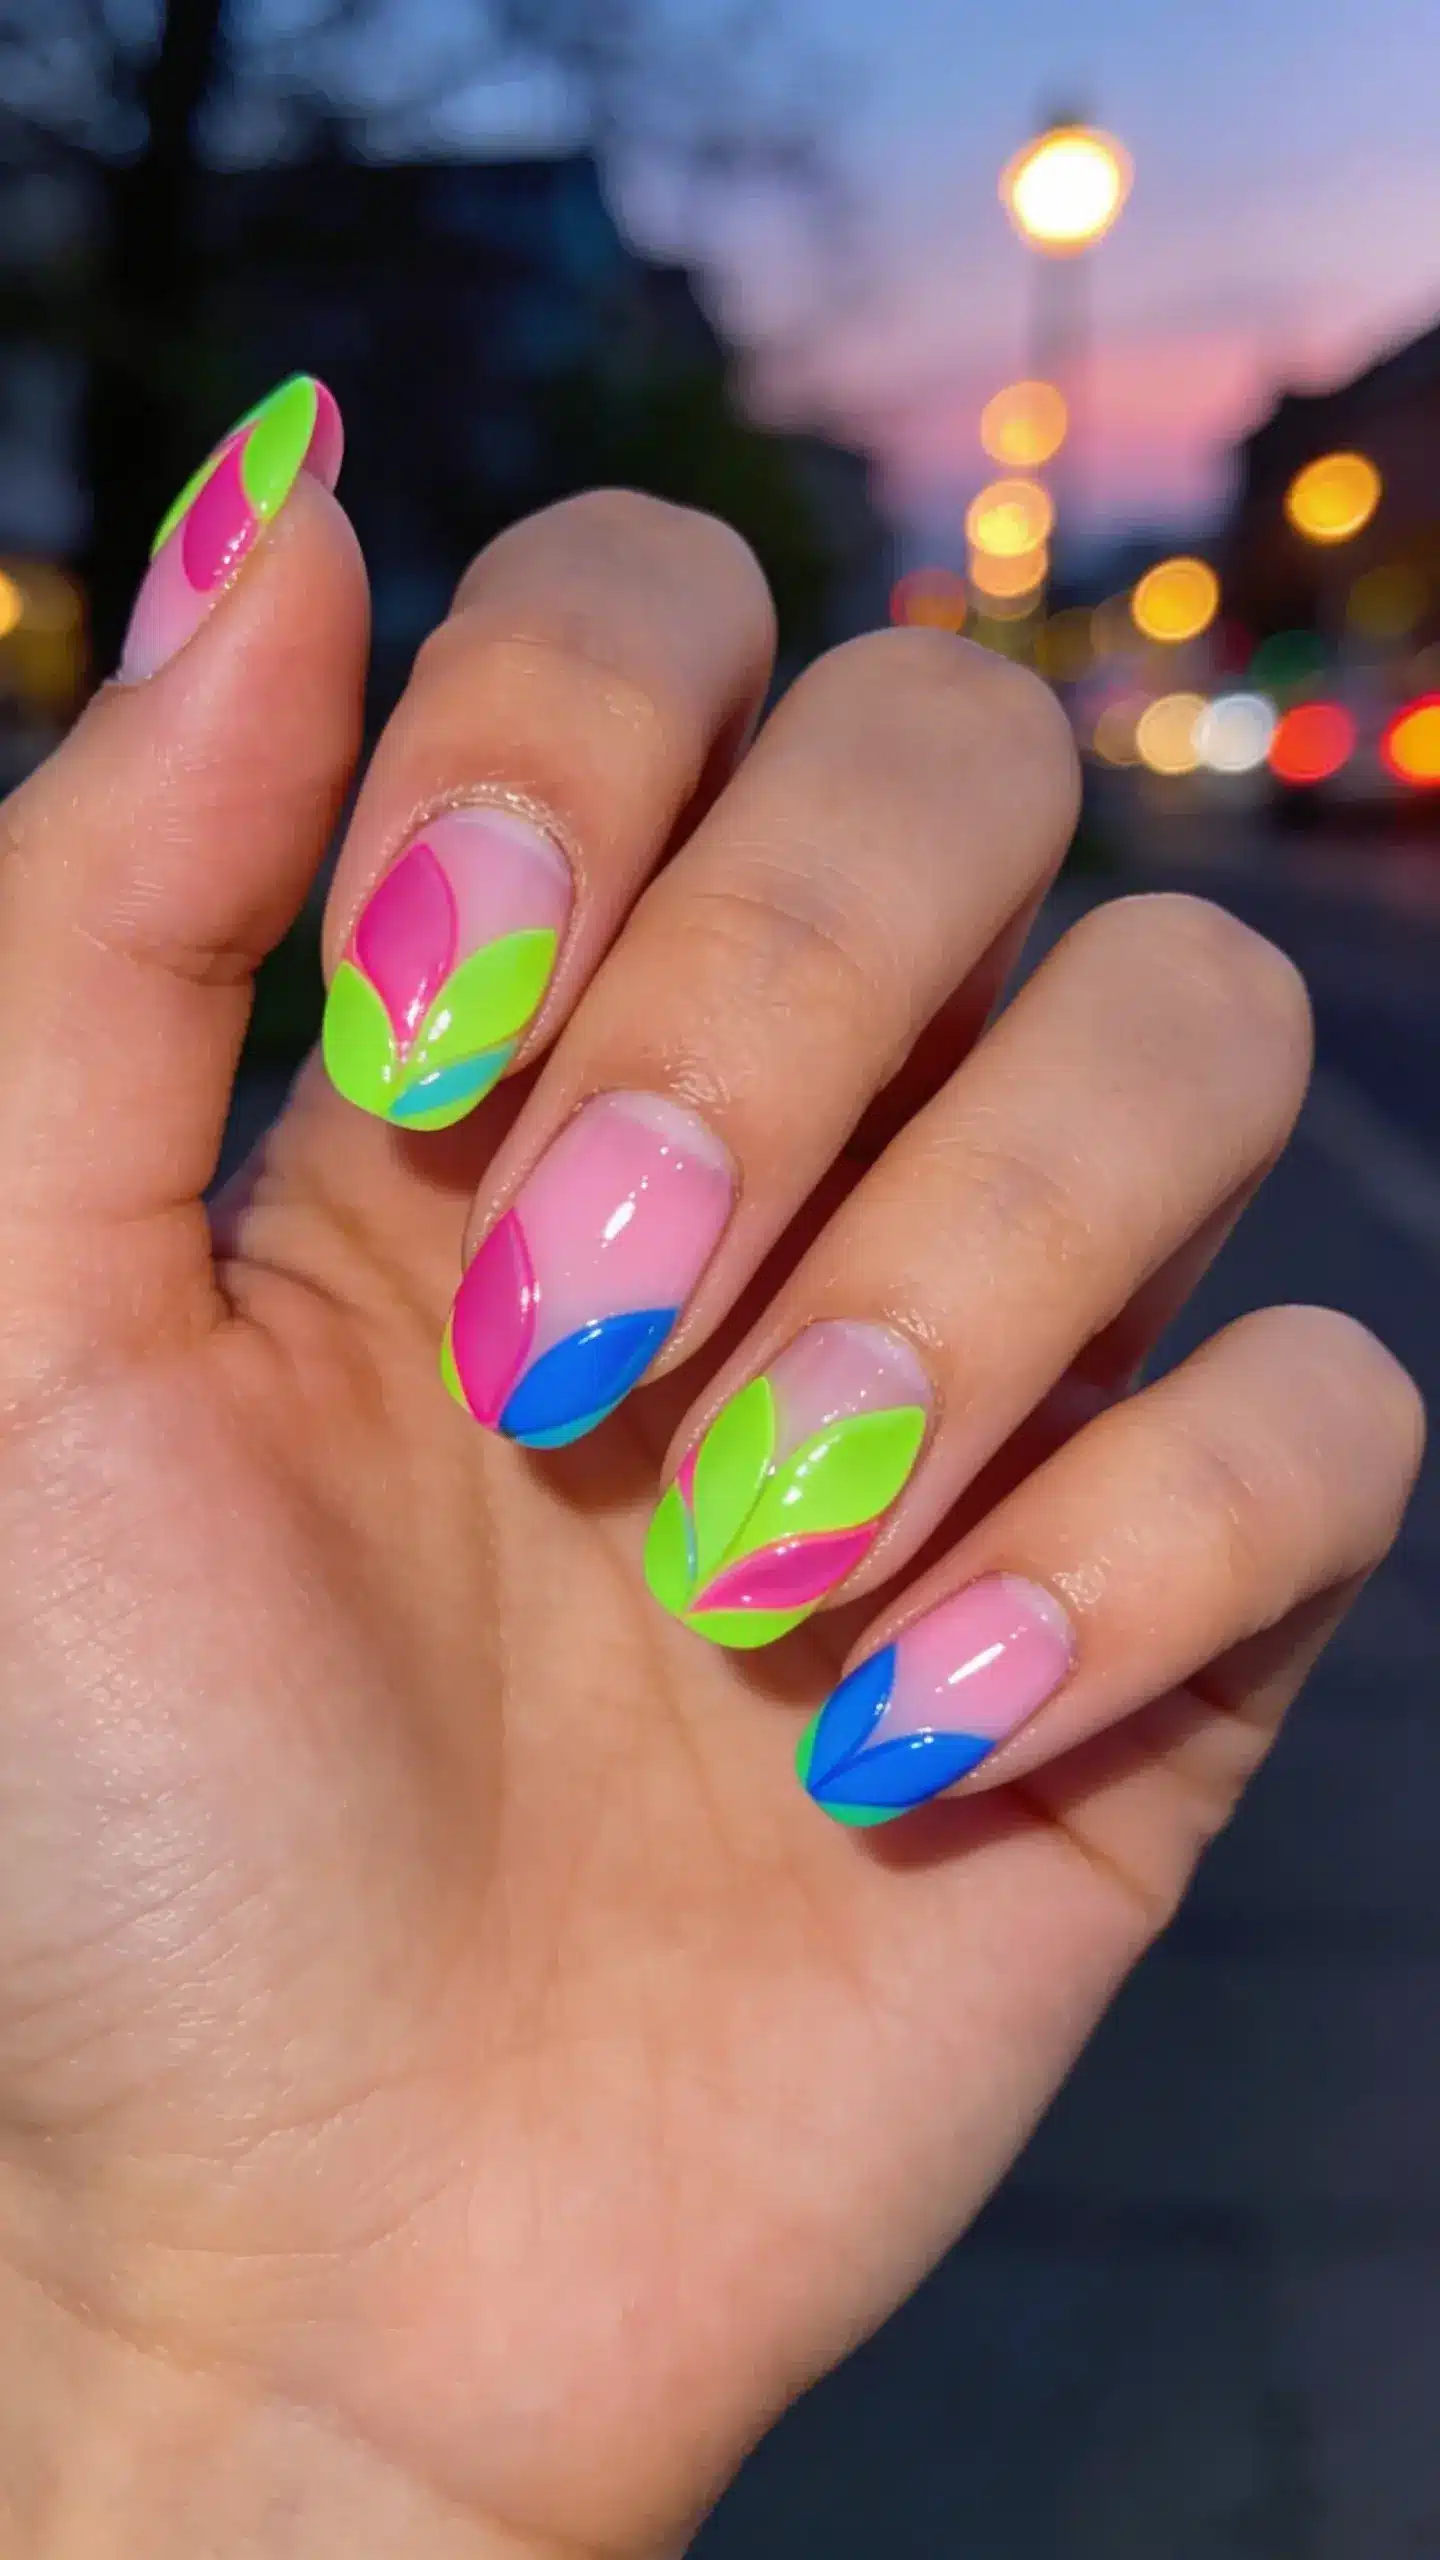
When spring energy is high, go neon with your petals on a pale base. The contrast feels electric, perfect for a night out or a city stroll where you want every snap to pop. It’s bold, bright, and unapologetically fun.
Practicalities
- Base: sheer milky pink to let neon glow
- Neon petals: pick 2–3 colors maximum
- Top coat: glossy to maximize brightness
Heads-up: neon colors can reveal imperfections, so prep your nails well and use a good quality white underlayer if needed. It’s worth it for that high-energy vibe!
8. Waterline Florals: Line Art Florals
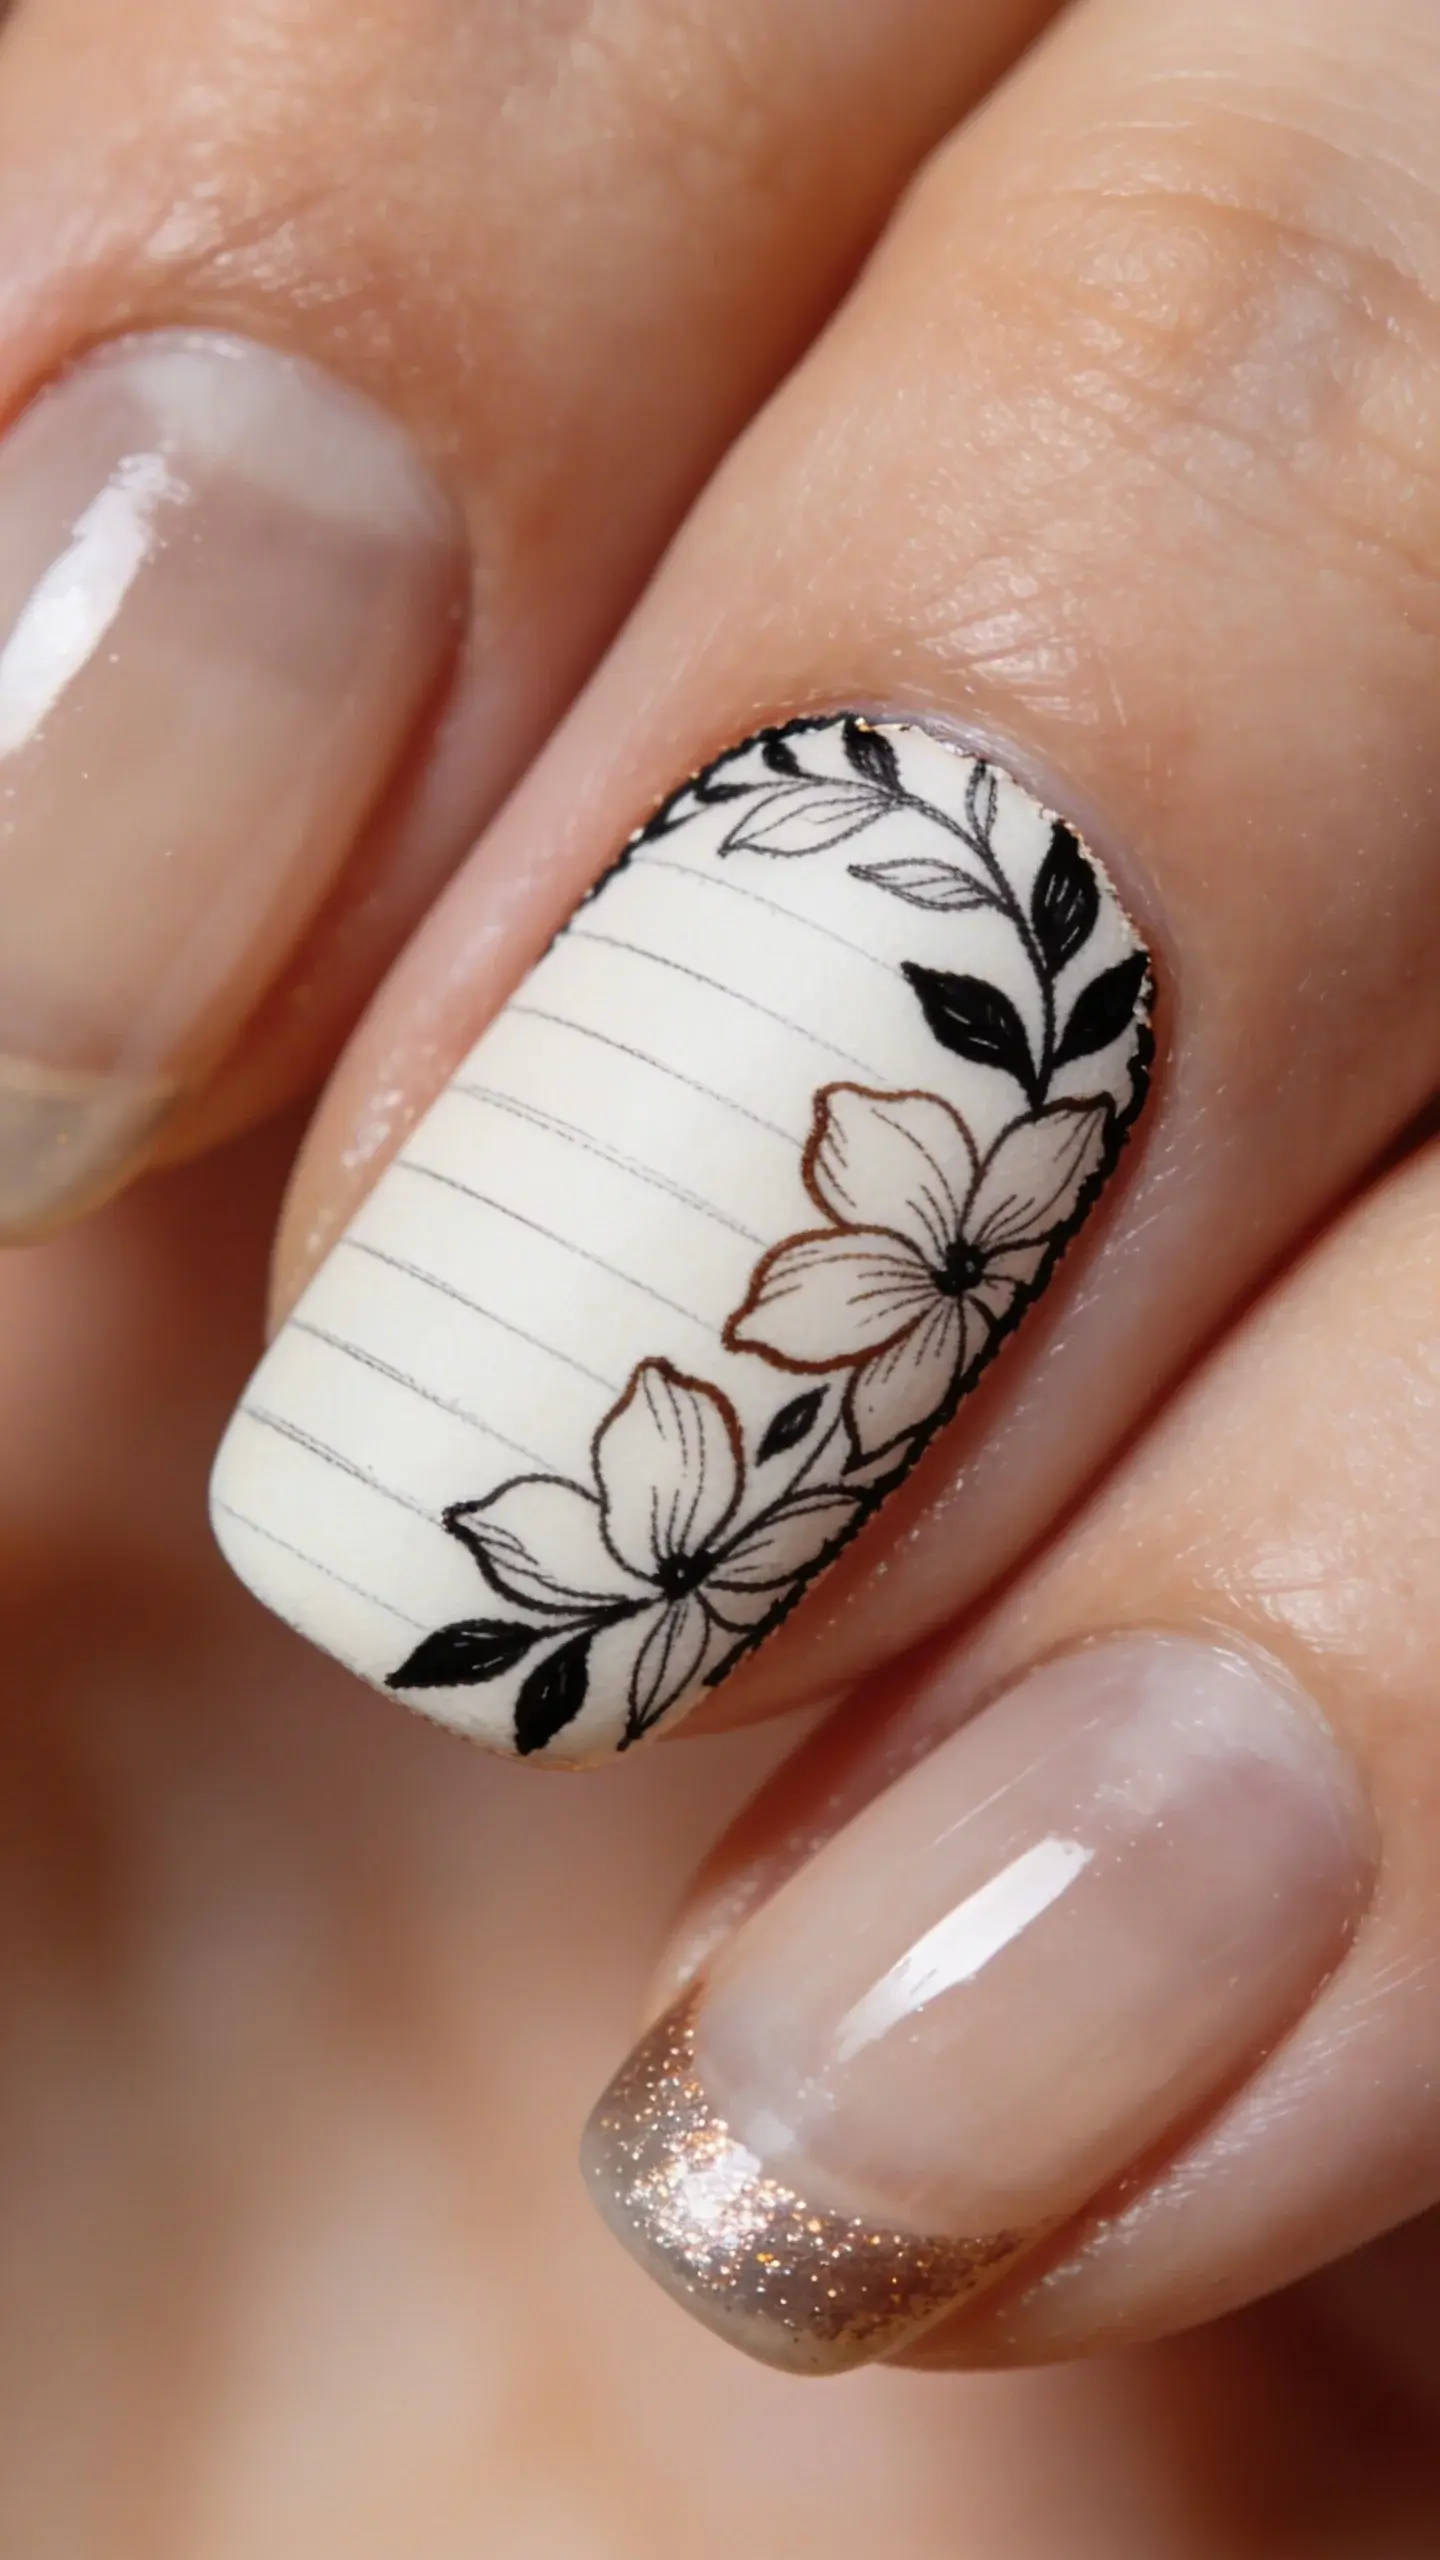
Fine line floral drawings across the nail edges resemble delicate sketches in a notebook. This is ultra-sophisticated and surprisingly simple with the right brush and steady hand. It’s like wearing a tiny botanical illustration.
What to practice
- Ultra-thin liner brush or micro brush
- Black or dark brown lines for contrast
- A thin layer of shimmer over the tip for depth
Pro move: start with pencil guidelines, then go over with paint once you’re sure of the shape. It’s arts-and-crafts-chic for adults with deadlines.
9. Spring Splash: Marbled Florals
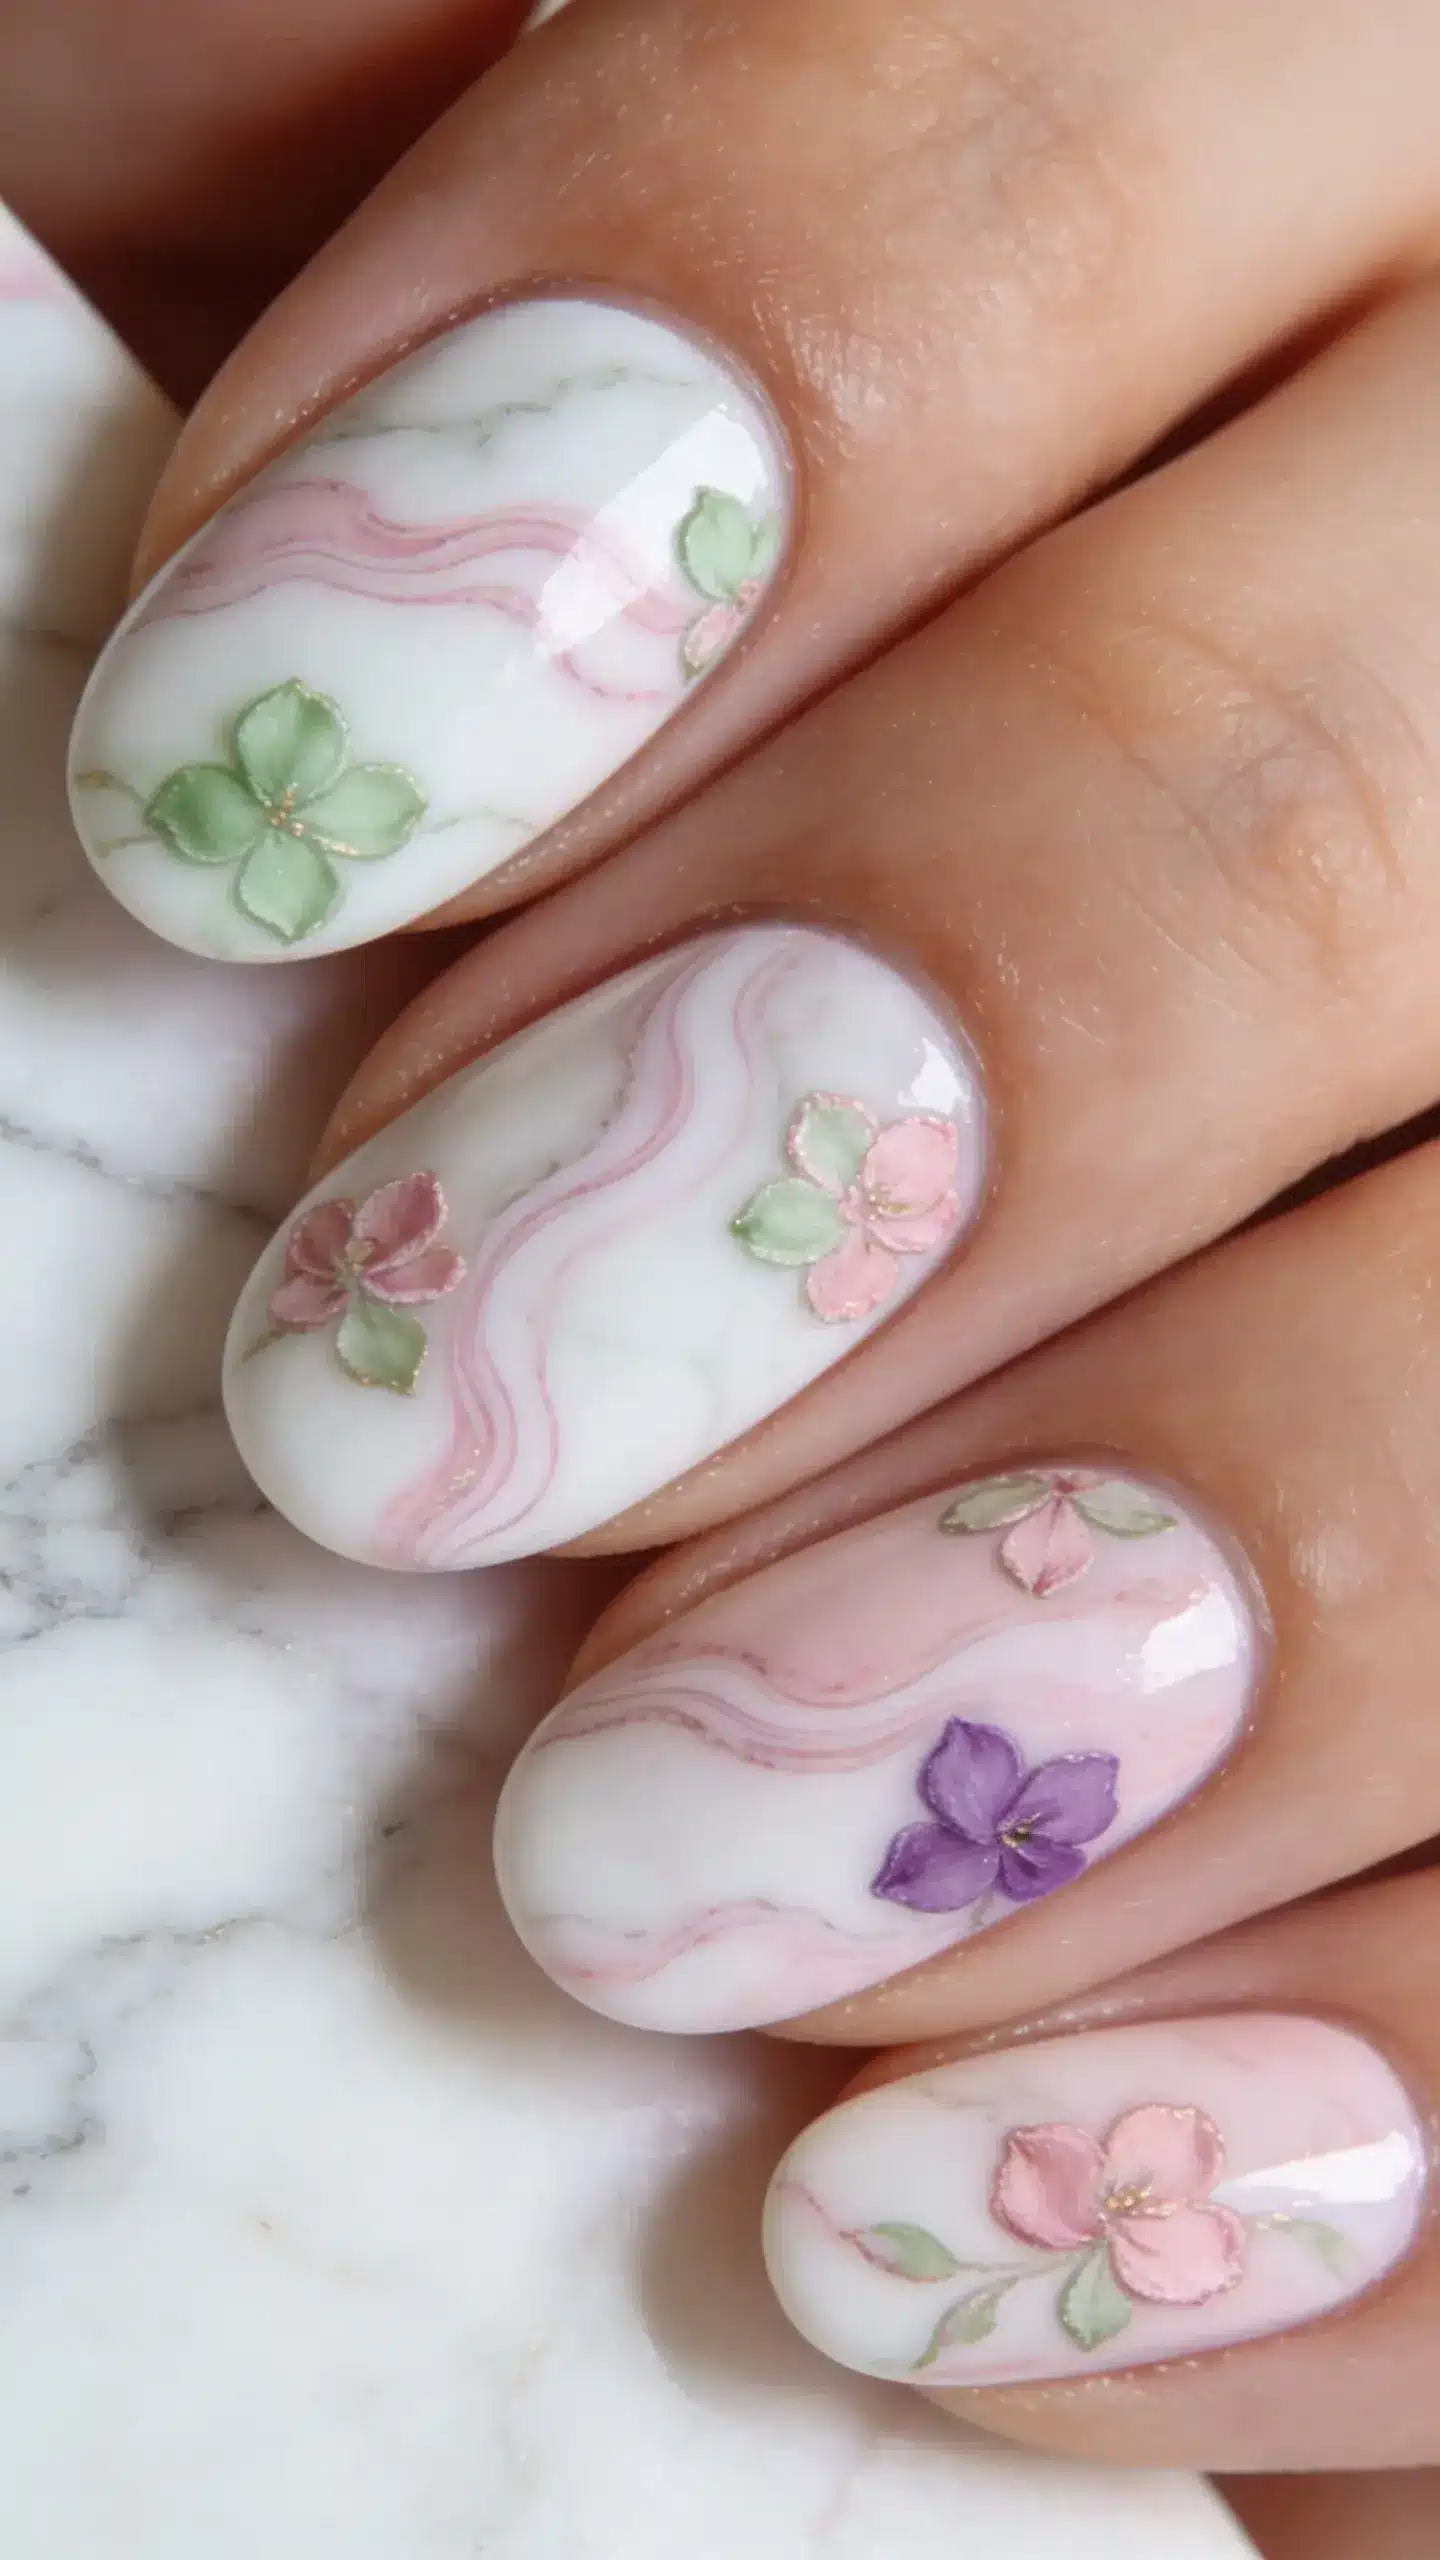
A marble base with floral accents feels luxe and unexpected. The marbling brings movement, while the flowers provide focal points that don’t overwhelm the design. It’s elegant with a dash of whimsy.
How to assemble
- Water-marble or dry-marble technique for the base
- Small floral stamps or hand-painted petals
- Matte top coat for a sophisticated finish
When to use: best for a special event or a week when you want your manicure to feel like a spa day for your hands.
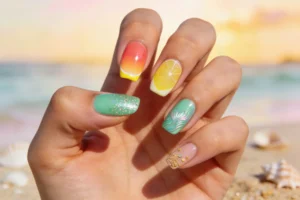
10. Garden Party Gradient
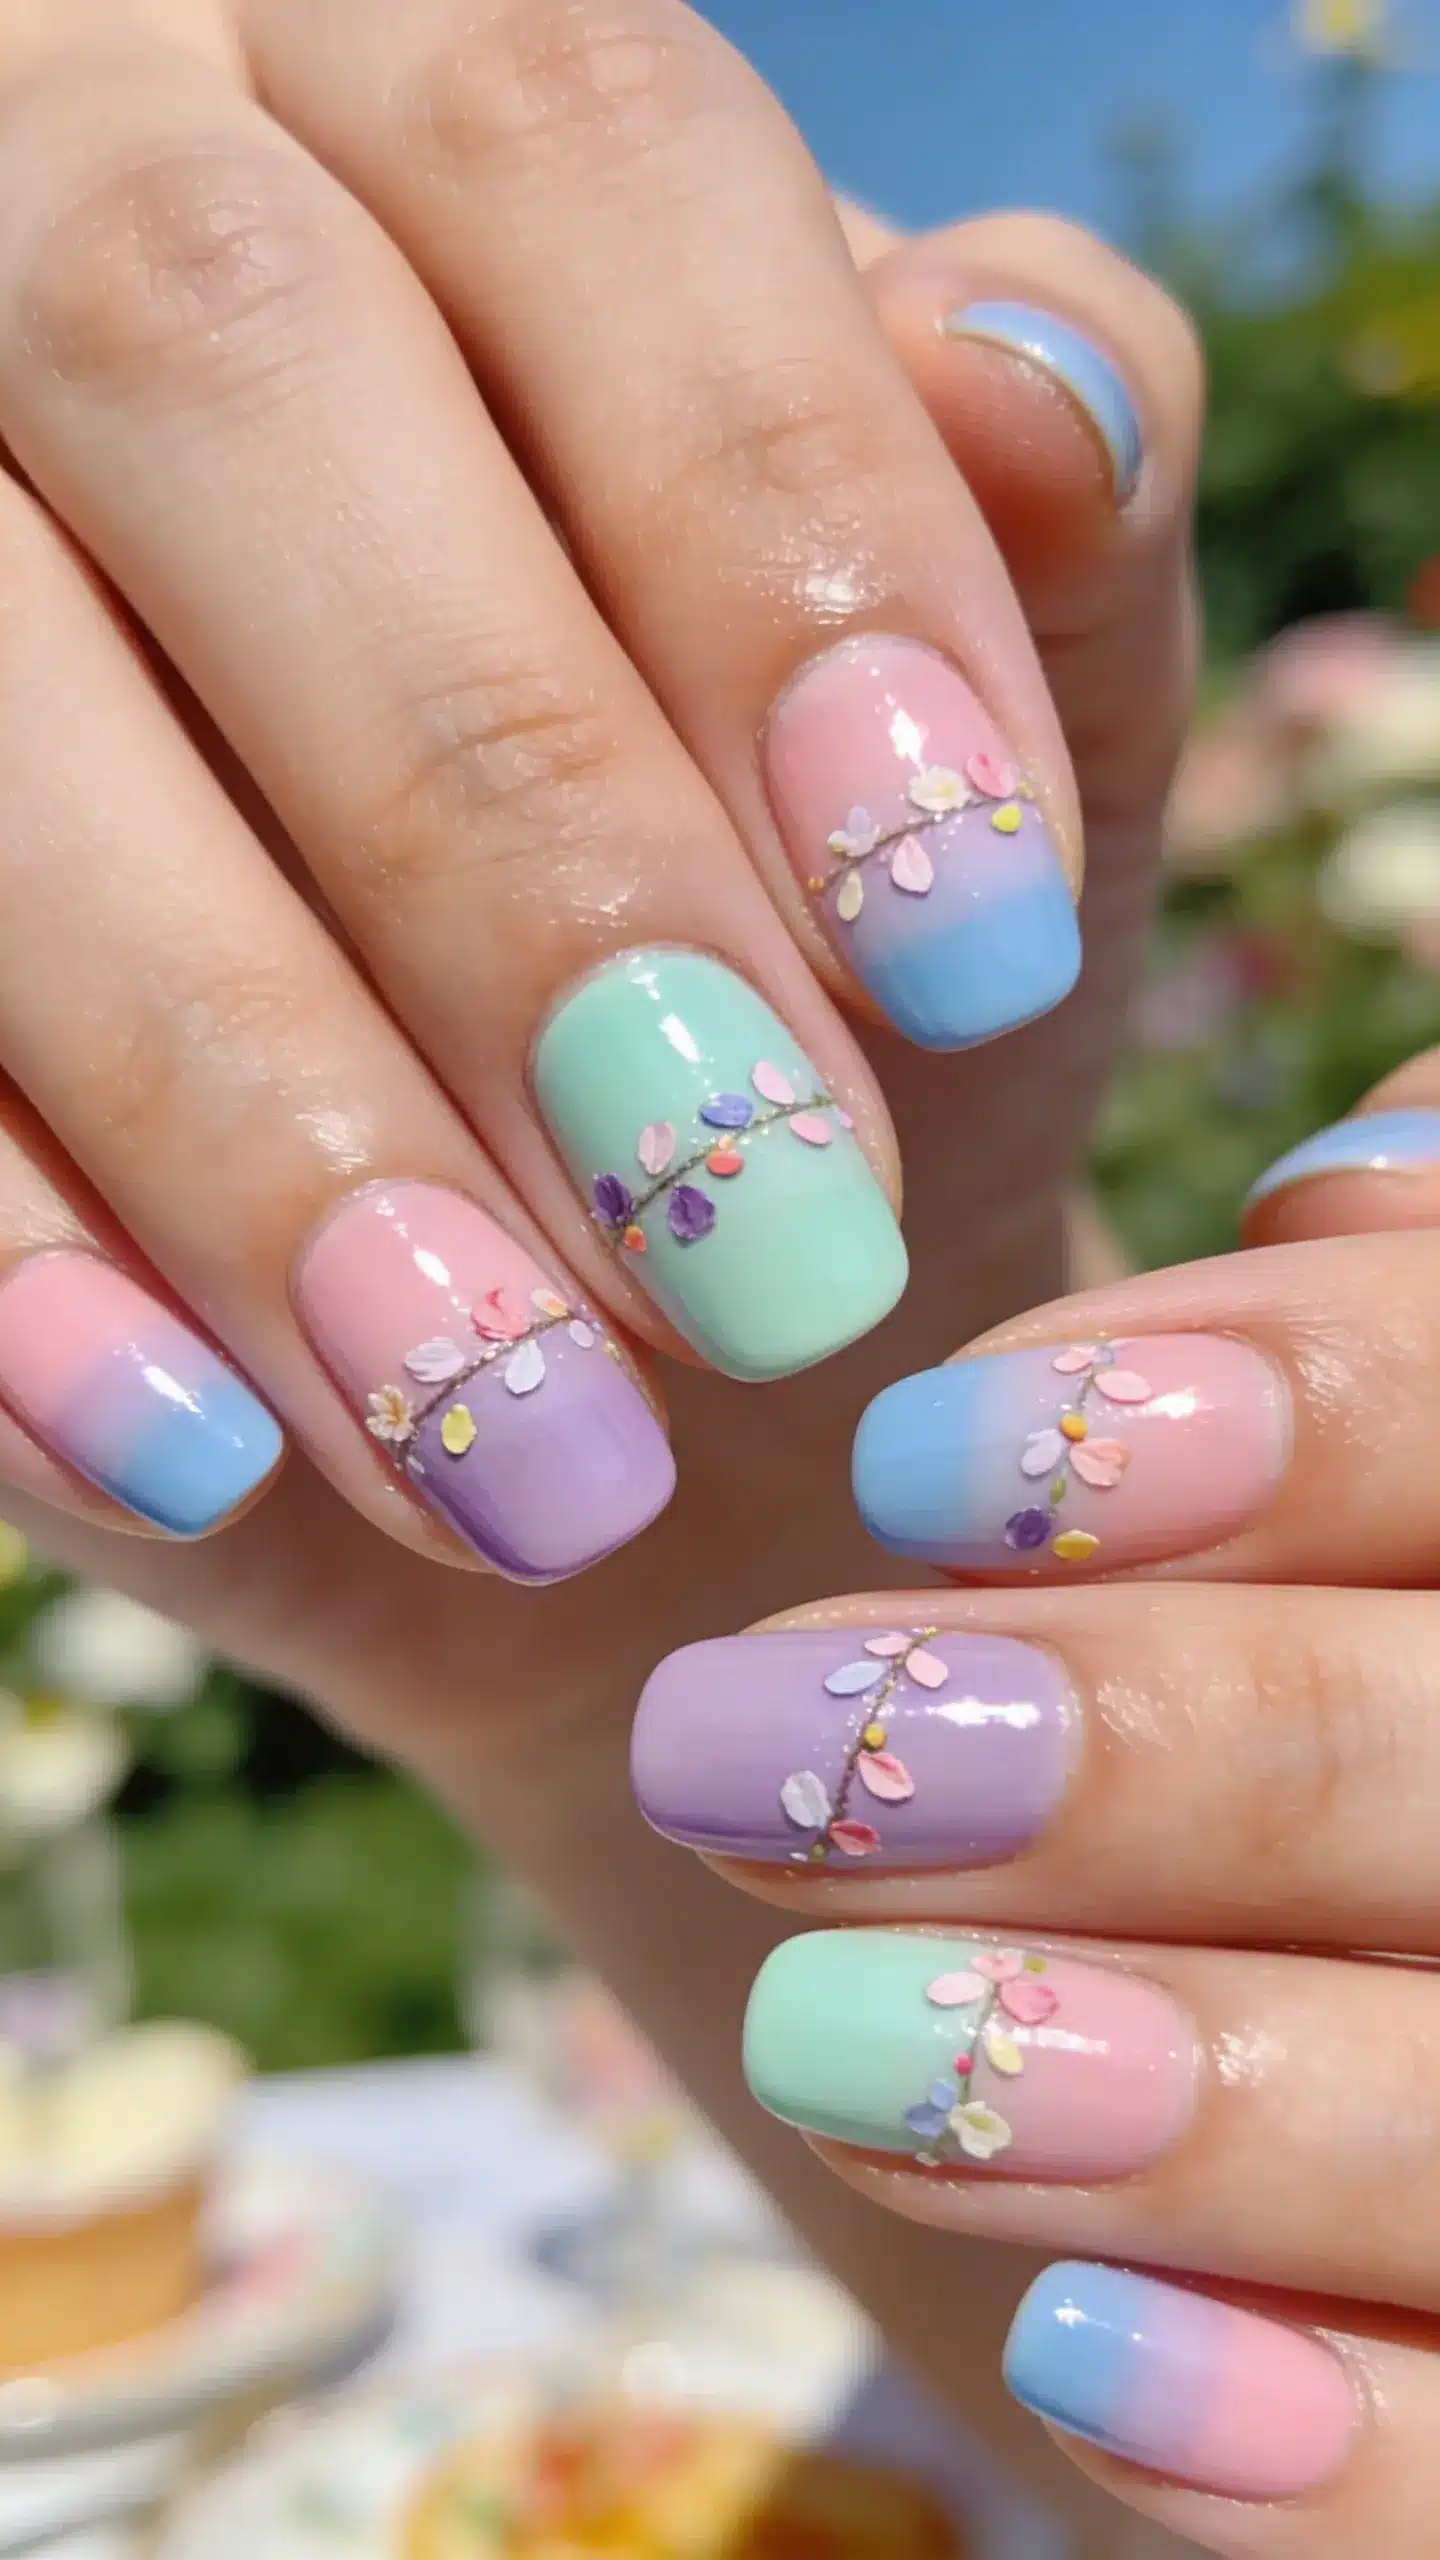
Gradient backgrounds with tiny floral confetti feel festive, like you’re always ready for a sunny garden party. It’s cheerful, easy to customize, and forgiving for nail art beginners. IMO, this is the “low-lift, high-reward” design.
Getting the look
- Base gradient using two or three pastel shades
- Small floral decals or hand-painted petals sprinkled along the gradient line
- Finish with a high-gloss top coat
End result: nails that look effortlessly curated, perfect for brunch dates or a casual day out with friends. FYI, it travels beautifully in a bag—no smudges when you reach for chapstick.
Conclusion: Ready to bloom on your fingertips? These ten designs cover everything from soft and subtle to bold and showy, so you can switch with your mood and mood with your plans. Go ahead—pick a look and let your spring vibes shine.